
Intro to Photoshop
Adobe Photoshop is an industry-standard raster graphics editor for photo editing, graphic design, animation, and more.
In this Intro to Photoshop tutorial, you’ll learn the basics of Photoshop including how to:
- Open images for editing
- Navigate the Photoshop interface
- Manage layers
- Perform simple image edits
- Save and exporting
All USC Annenberg students, faculty, and staff are eligible to receive Adobe Creative Cloud access, which includes Photoshop. For more information, please visit our Adobe Creative Cloud web page.
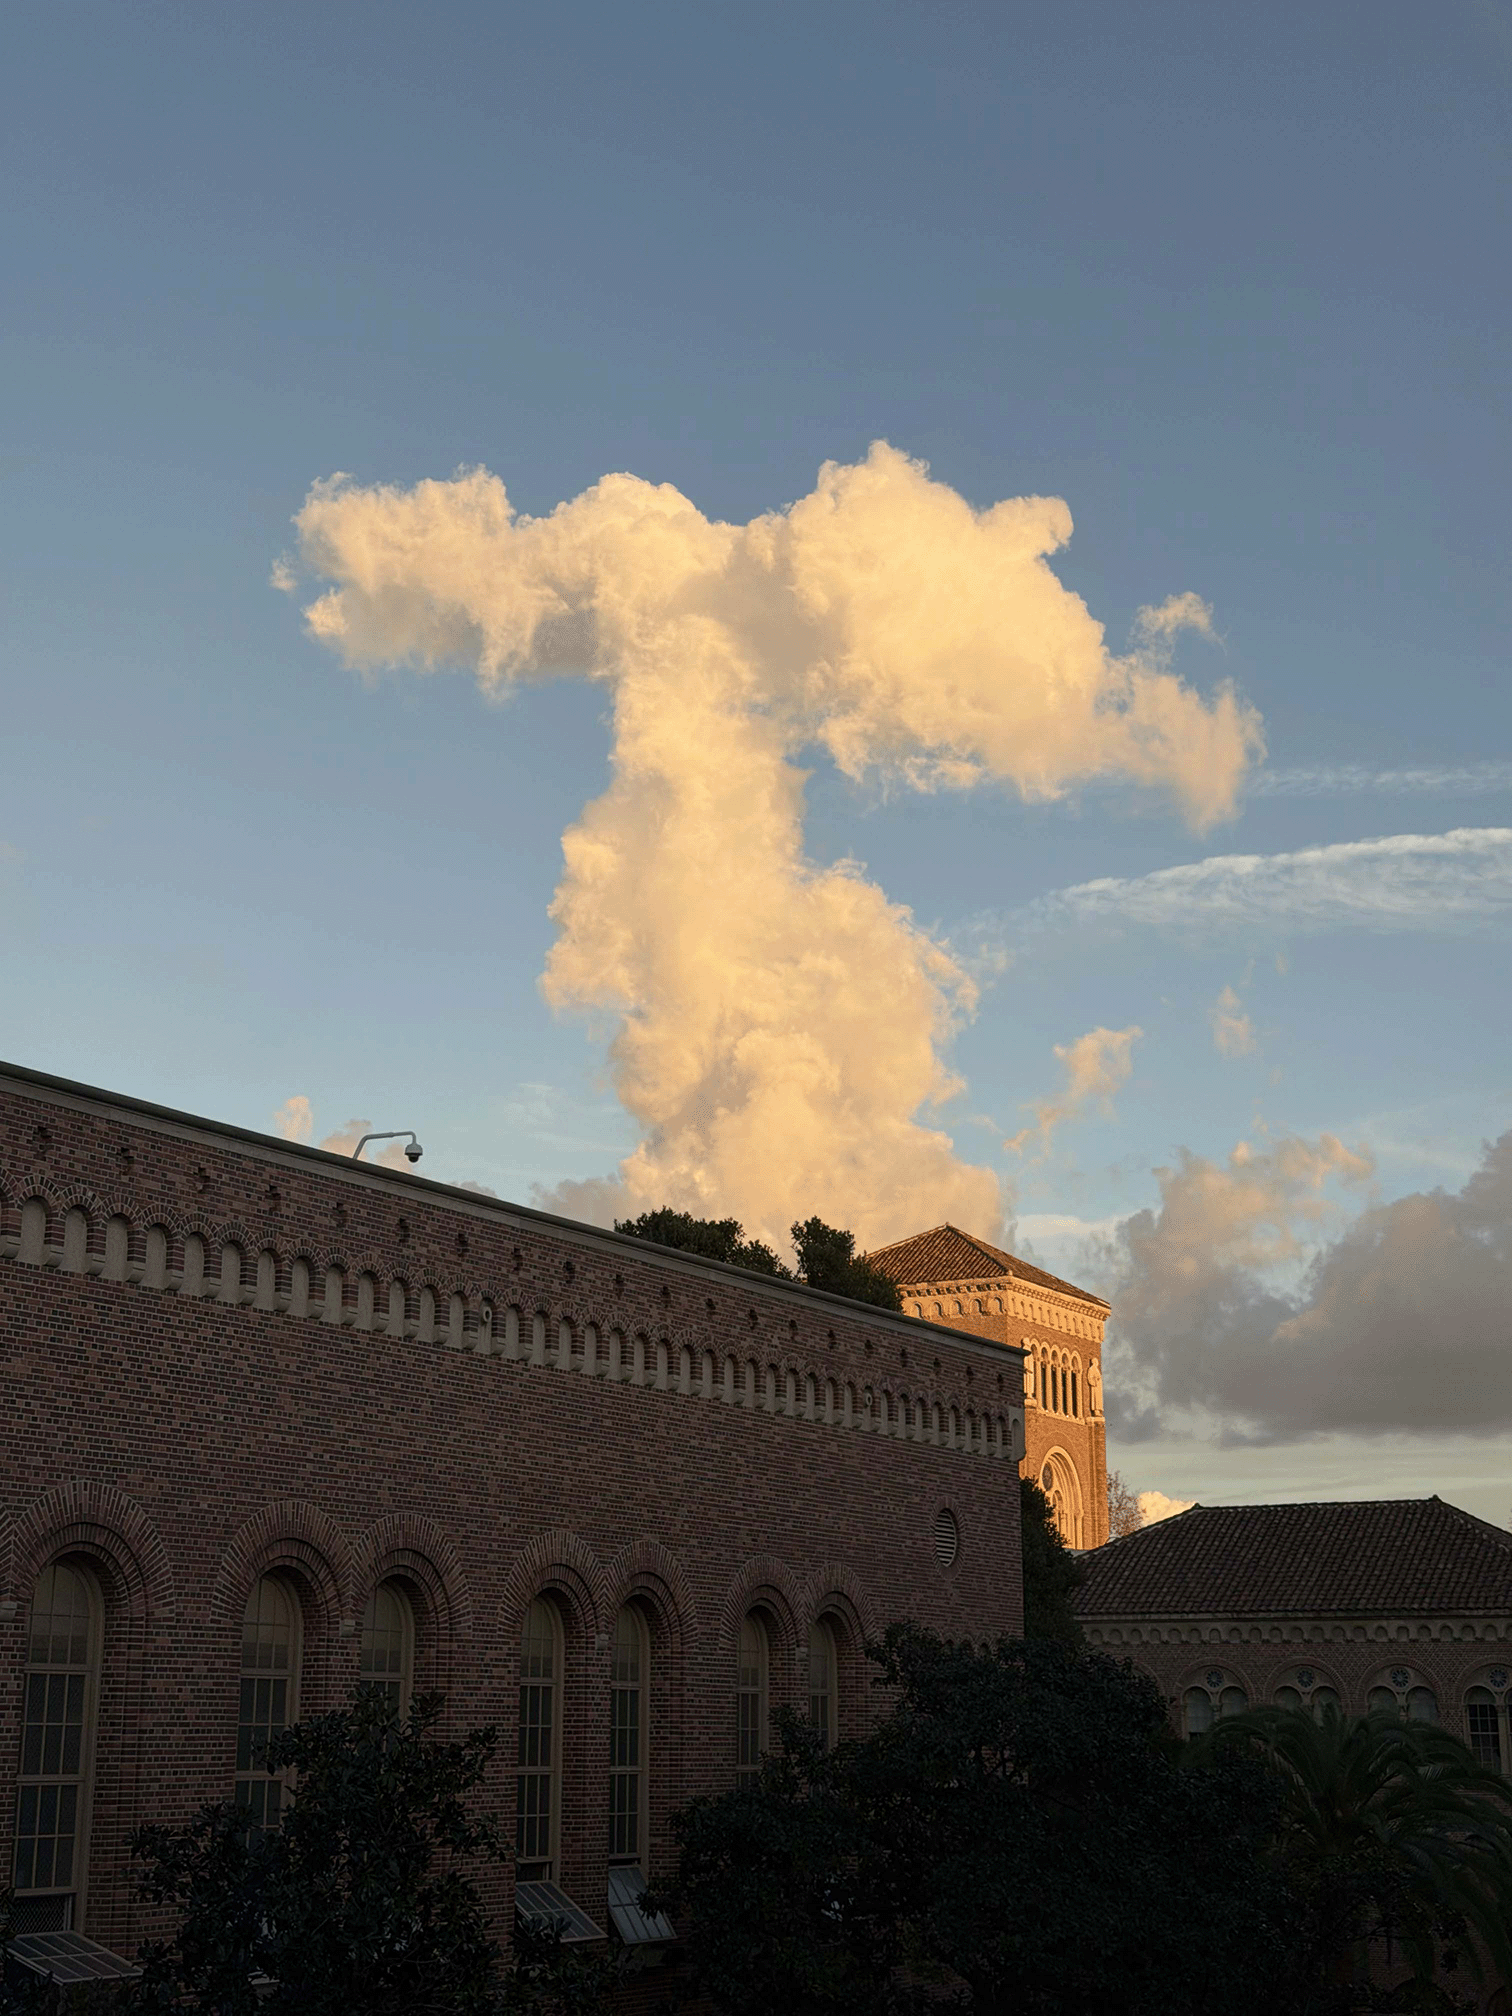
We’ll use the following image in this tutorial. Click the image below to open it in a new tab. In the new tab, right-click on the image and click Save Image As to save the image to your computer.
Open an Image in Photoshop
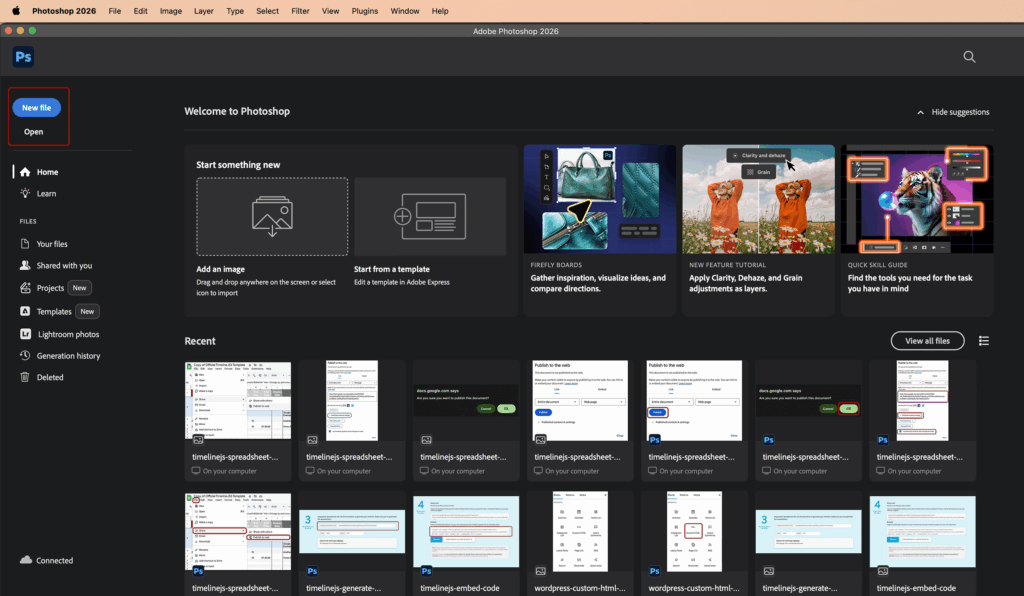
When you open Photoshop, you are greeted with a start screen. The left-most column of this screen has options for creating new files, opening existing files and images, and changing what is shown on the rest of the screen.
Click the New file button in the top-left of the start screen to create a new Photoshop file, where you specify document settings like size, resolution, color mode, and more.
Click the Open button in the top-left of the start screen to open an existing Photoshop file or image, retaining the original file or image settings. This button opens the file browser for your computer’s operating system, File Explorer for Windows and Finder for Mac. Locate the image you want to open for editing.
Navigate the Photoshop Interface
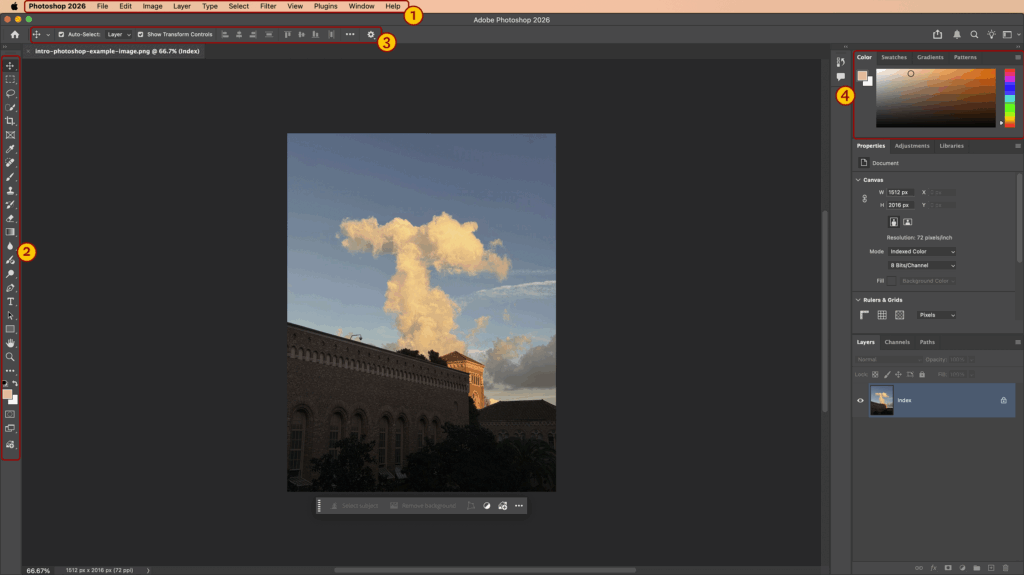
With a file or image open in Photoshop, you’ll see several options and settings around the interface:
- Application bar: Contains menus with controls to accomplish various tasks in Photoshop
- Tool bar: Contains tools for editing files and images
- Options bar: Contains settings for the currently selected tool
- Panels: Contains tools and settings for editing
You can add, remove, resize, and rearrange panels in Photoshop. The arrangement of panels is called a workspace.
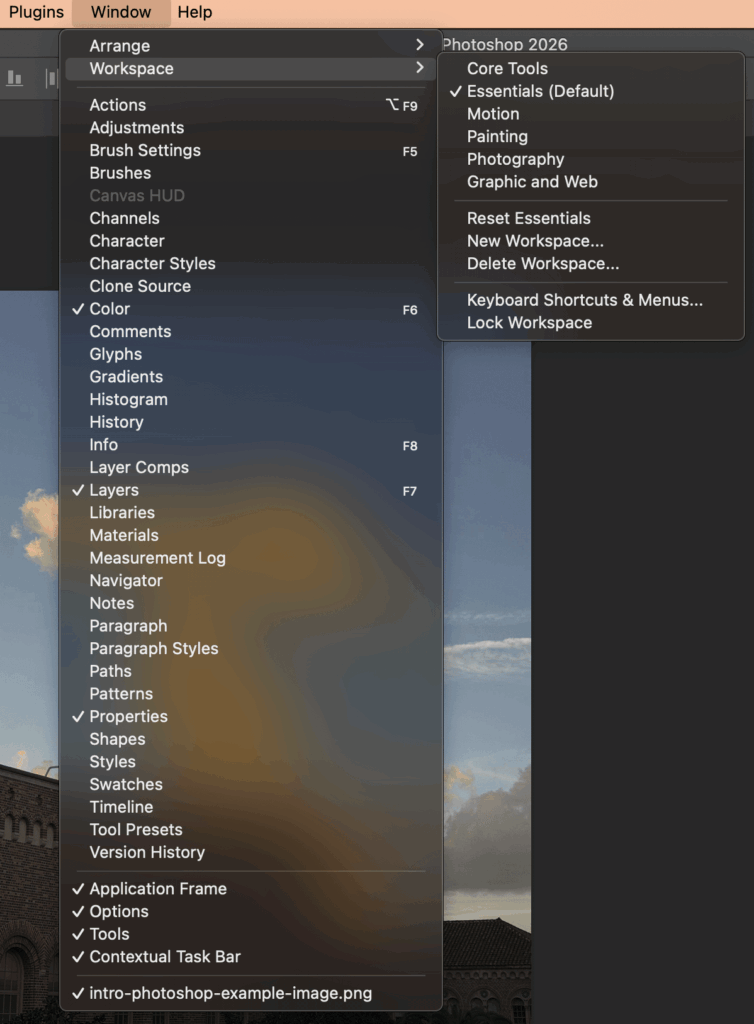
To view all the panels available, hover over the Window menu item. If a checkmark is shown by the panel name, that panel is currently used in the workspace. Click the panel name to add a panel that’s not already in your workspace.
To resize a panel, hover over the panel’s edge and click and drag. To move a panel, click and drag on its name and drop it in a new location.
Hover over Workspace to toggle between different workspaces. For this tutorial, we’ll use the default Essentials workspace.
If you’ve edited a workspace by adding, removing, resizing, or rearranging the panels, and you would like to save your workspace configuration for later:
- Hover over Window in the application bar.
- Hover over Workspace.
- Click New Workspace.
Manage Layers
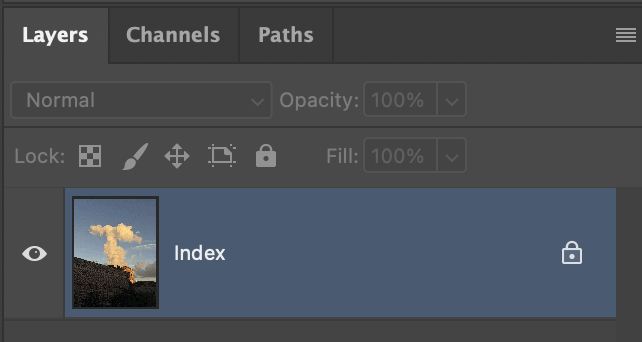
Layers are a foundational aspect of Photoshop, helping keep design elements organized and determining how edits are applied to the file. Whenever a design element is added to the file, whether that’s another image, shapes, text, or image edits, a new layer will be created in the Layers panel.
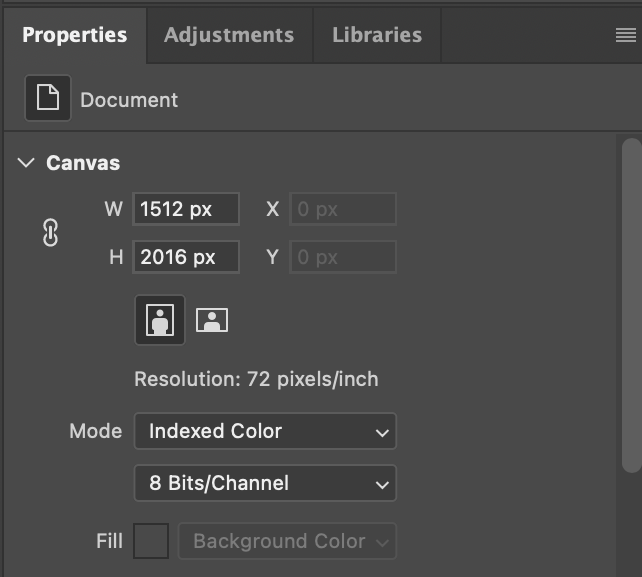
When you open an image in Photoshop, the image may be in the Indexed Color mode. This color mode limits the number of colors shown in the image to 256. While this helps reduce the file size, it also locks the layers, preventing further editing.
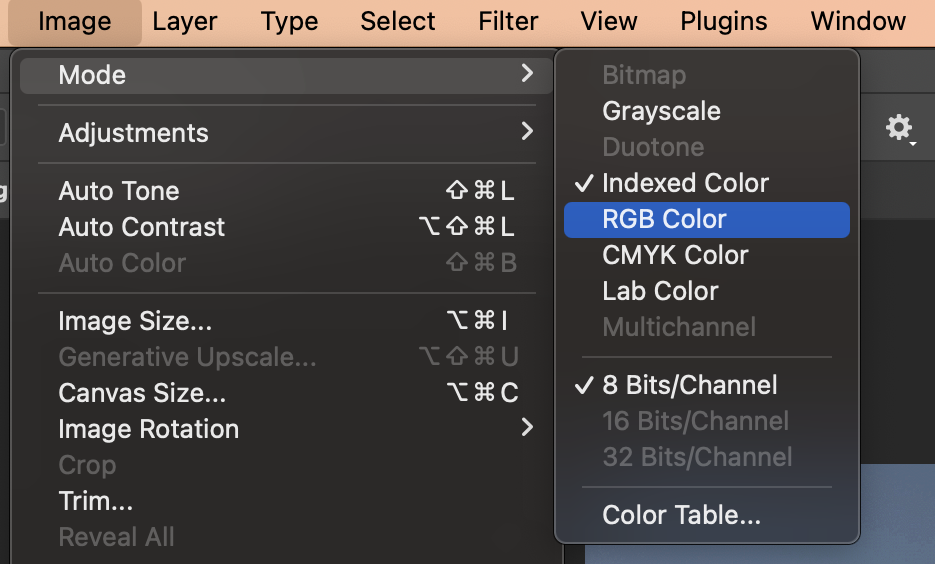
To change the image to an editable color mode:
- Hover over Image in the top menu bar.
- Hover over Mode.
- Click on the image mode. Use RGB Color for digital images and CMYK Color for print images. For this tutorial, we’ll switch to RGB Color.
You can also change the image mode in the Properties panel:
- Locate the Properties panel.
- Click the Mode dropdown.
- Click on the image mode.
Perform Simple Image Edits
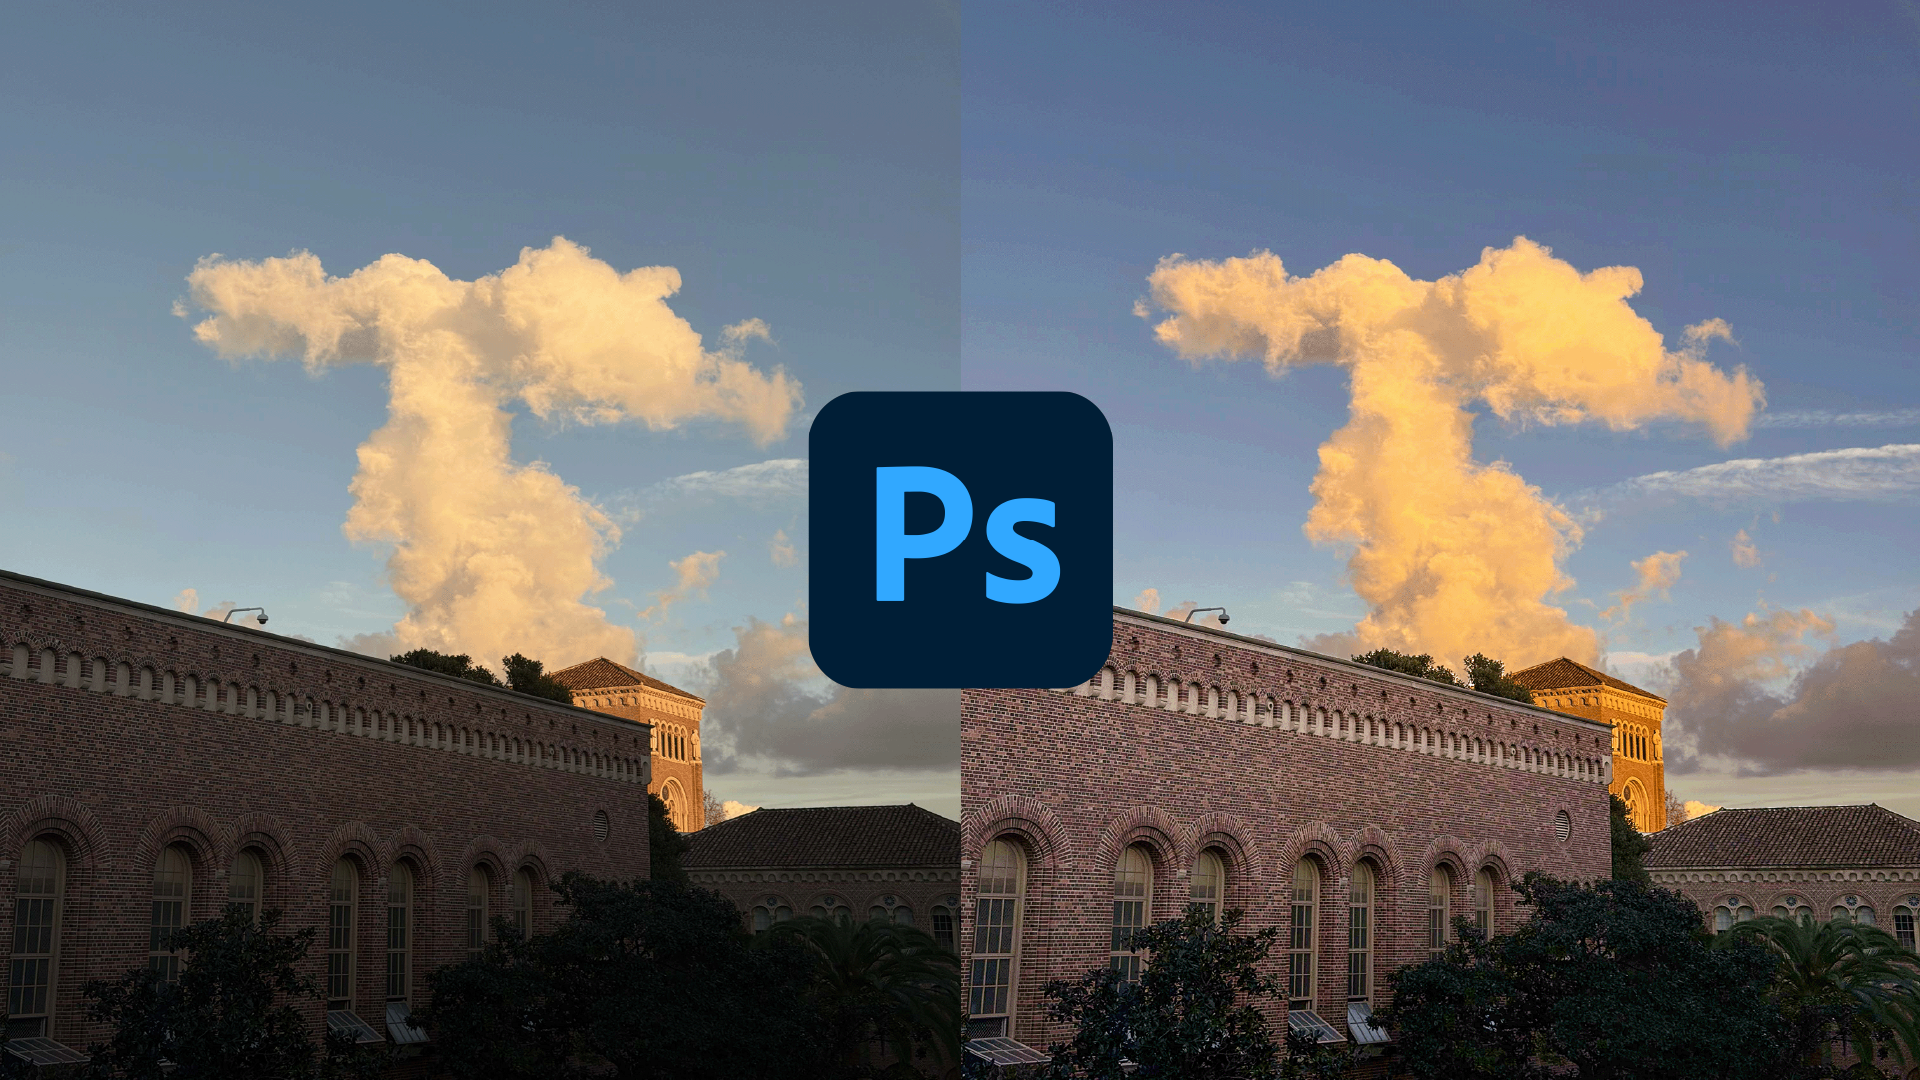
In this tutorial, we’ll focus on performing simple image edits using adjustments. For this image, we want to make the currently dark foreground brighter and make the colors across the image pop.
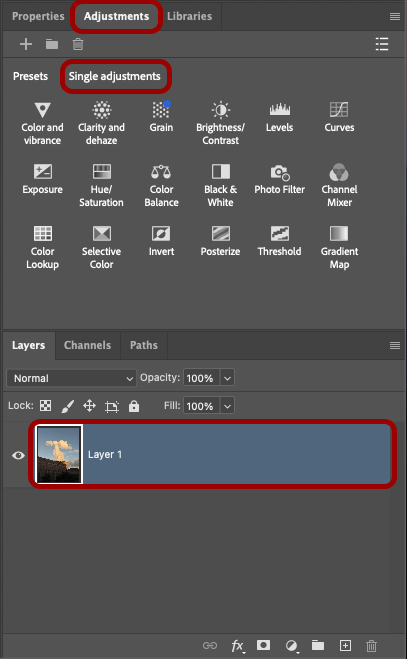
Before applying an adjustment, click on Layer 1 on the Layers panel to select the image. Then, click Adjustments to open the Adjustments panel. If not opened by default, click the Single adjustments tab.
There are several available adjustments, but we’ll use just four in this tutorial: color and vibrance, clarity and dehaze, brightness/contrast, and exposure.
Change Image Color and Vibrancy
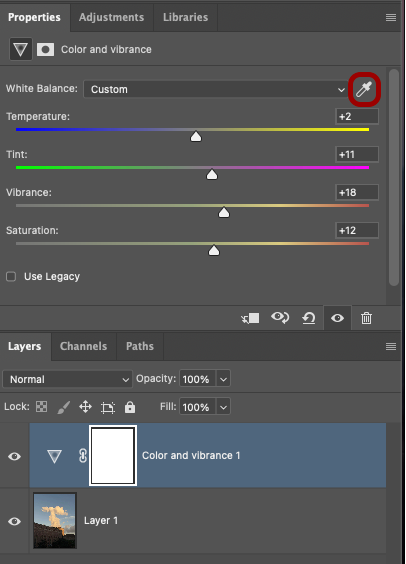
Click Color and vibrance in the Single adjustments tab of the Adjustments panel to apply the Color and vibrance adjusment.
The White Balance setting allows you to specify a part of the image that’s “pure white”. Click the eyedropper icon and then click an area of the image you want to be processed as white, such as the small thin clouds on the right side of the image. This automatically sets the Temperature and Tint values to match the white balance of your selection.
Temperature helps make an image look cooler (adds blue) or warmer (adds yellow) and Tint adjusts the balance between green and magenta tones in the image.
Vibrance boosts the intensity of muted colors by increasing their saturation, while preserving already saturated colors. In comparison, the Saturation setting intensifies the color of every pixel image equally.
For this image, we set the Vibrance to 18 and the Saturation to 12.
Adjust Clarity and Haziness
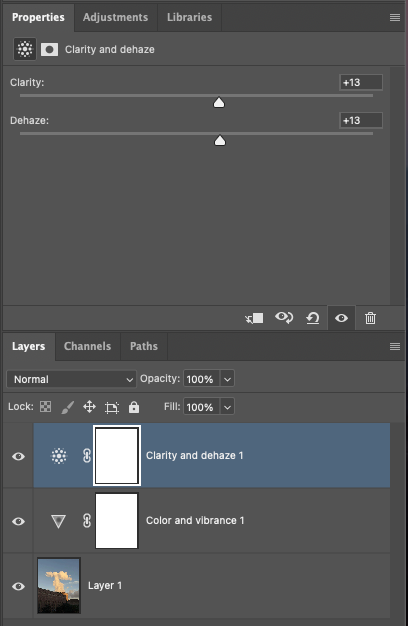
Next, we want to boost the visual clarity of the image. To do this, we’ll apply the Clarity and dehaze adjustment.
Navigate back to the Adjustments panel and click Clarity and dehaze.
The Clarity setting adjusts the contrasts of midtones in the image and adds definition. The Dehaze setting improves contrast by adjusting the haziness of the image.
For this image, we set the Clarity to 13 and the Dehaze to 13.
Select Parts of an Image
So far, we’ve applied adjustments globally to the entire image. Now, we want to improve the dark part of the image to increase its visibility.
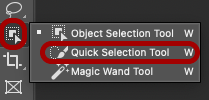
While there are several Photoshop selection tools, we’re going to use the Quick Selection tool. To activate the Quick Selection tool:
- Right-click on the Object Selection tool.
- Click the Quick Selection tool.
Now, draw over the dark parts of the image that you want to select. Make sure the Quick Selection tool is set to Add to selection in the tools options bar near the top of Photoshop.
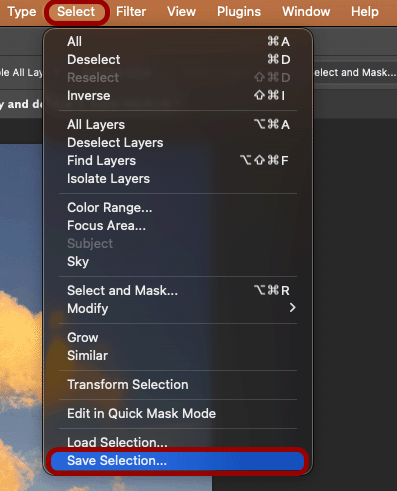
Since we’re going to use the selection area again, it’s best to save it for later. To save a selection:
- Click Select in the menu bar.
- Click Save Selection.
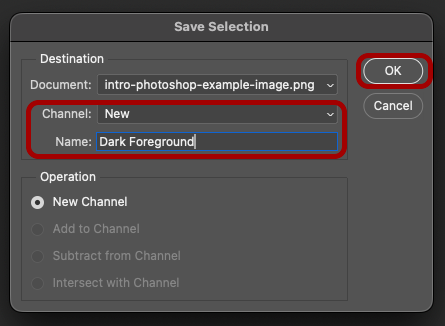
- In the Save Selection popup, ensure the Channel setting is set to New.
- Enter a name in the Name field.
- Click OK.

Adjust Brightness and Contrast
With the dark foreground of the image selected, navigate back to the Adjustments panel.
Click Brightness/Contrast to add a new Brightness/Contrast adjustment.
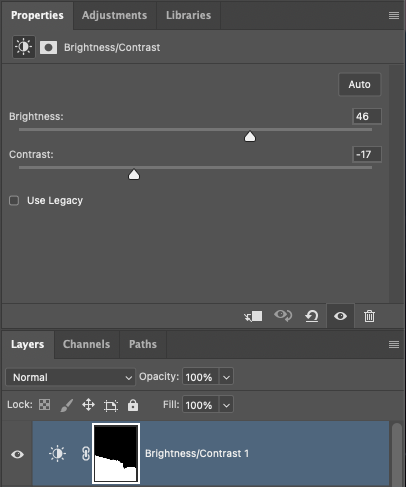
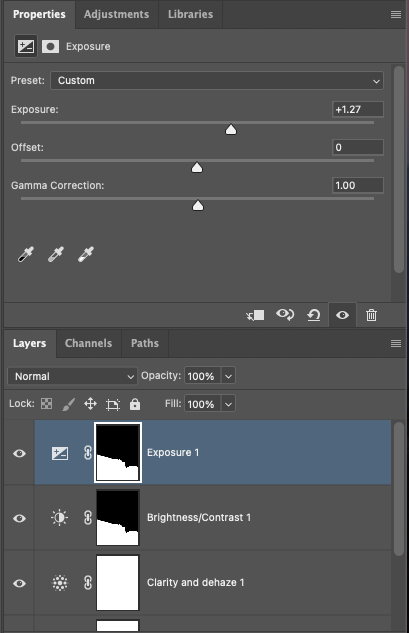
In the Layers panel, you’ll notice the Brightness/Contrast adjustment layer has black in the right square image, while the other adjustment layers do not. These are layer masks and they help determine where in the image an adjustment should be applied. Areas colored in white will have the adjustment applied, while areas colored in black won’t have the adjustment applied.
Brightness controls the overall amount of light affecting the image. Contrast controls the the difference between the brightness in the darkest and the lightness parts of the image.
For this image, we set the Brightness to 46 and the Contrast to -17.
Change Image Exposure
The last image adjustment we want to make is the image exposure. The Exposure adjustment in Photoshop mimics the exposure settings of a camera to control the overall brightness of an image.
Before applying the Exposure adjustment, we need to reselect the dark parts of the image.
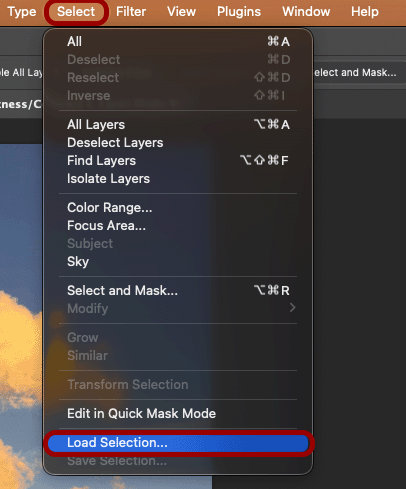
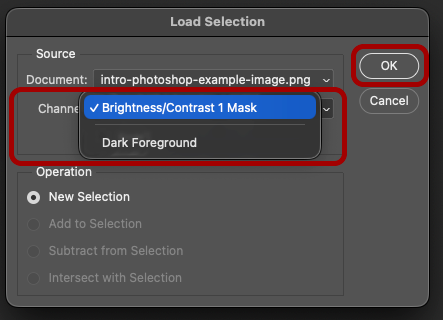
To load a previously saved selection area:
- Click Select in the menu bar.
- Click Load Selection.
- In the Load Selection popup, change the Channel setting to the name of the previously saved selection.
- Click OK.
To apply the Exposure adjustment, navigate back to the Adjustments panel and click Exposure.
The Exposure setting adjusts the highlights, the Offset setting darkens the shadows and midtones, and the Gamma Correction setting controls brightness in the midtones.
For this image, we set the Exposure to 1.27.
Save and Export
Congrats, you’ve just edited your first image in Photoshop!
If you’d like to come back to this file later and make further edits, you’ll want to save this document as a Photoshop document (.psd file). You can then open the saved Photoshop document later and continue to edit existing adjustments and add your own edits.
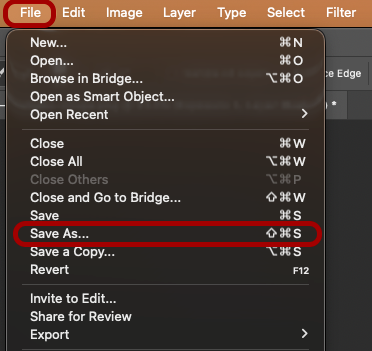
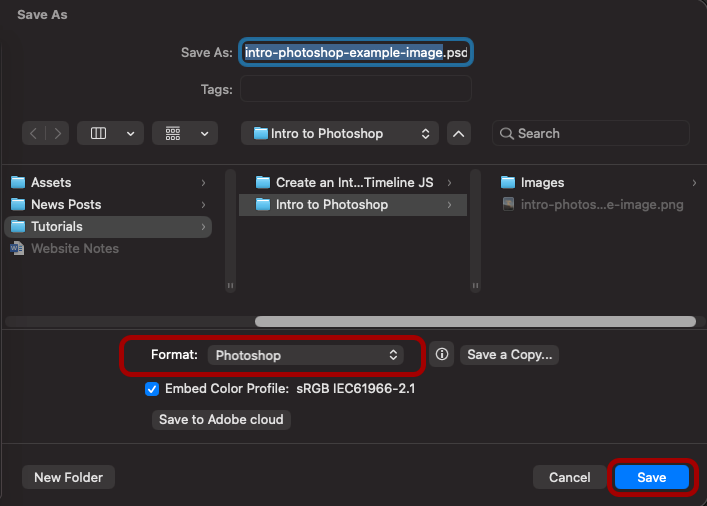
To save a new Photoshop document:
- Click File in the menu bar.
- Click Save As.
- In the Save As popup window, navigate to the location on your computer to which you’d like to save the document.
- Make sure the Format setting is set to Photoshop.
- Click Save.
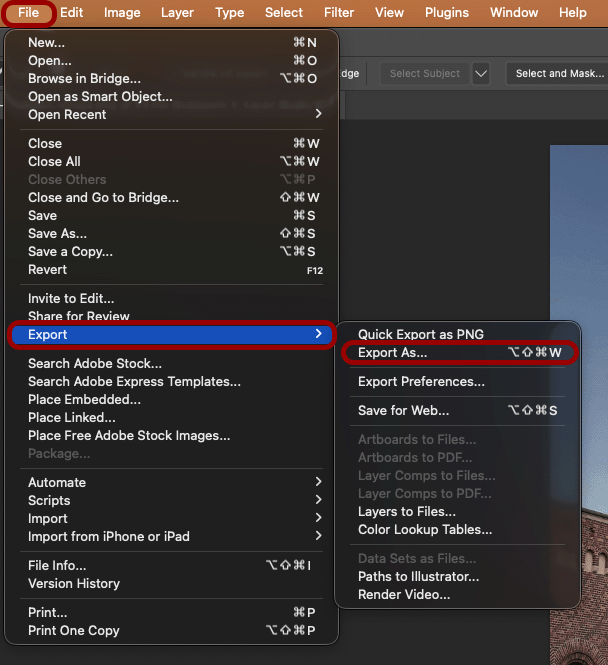
To export your image to an image file format to share your final image:
- Click File in the menu bar.
- Hover over Export.
- Click Export As.
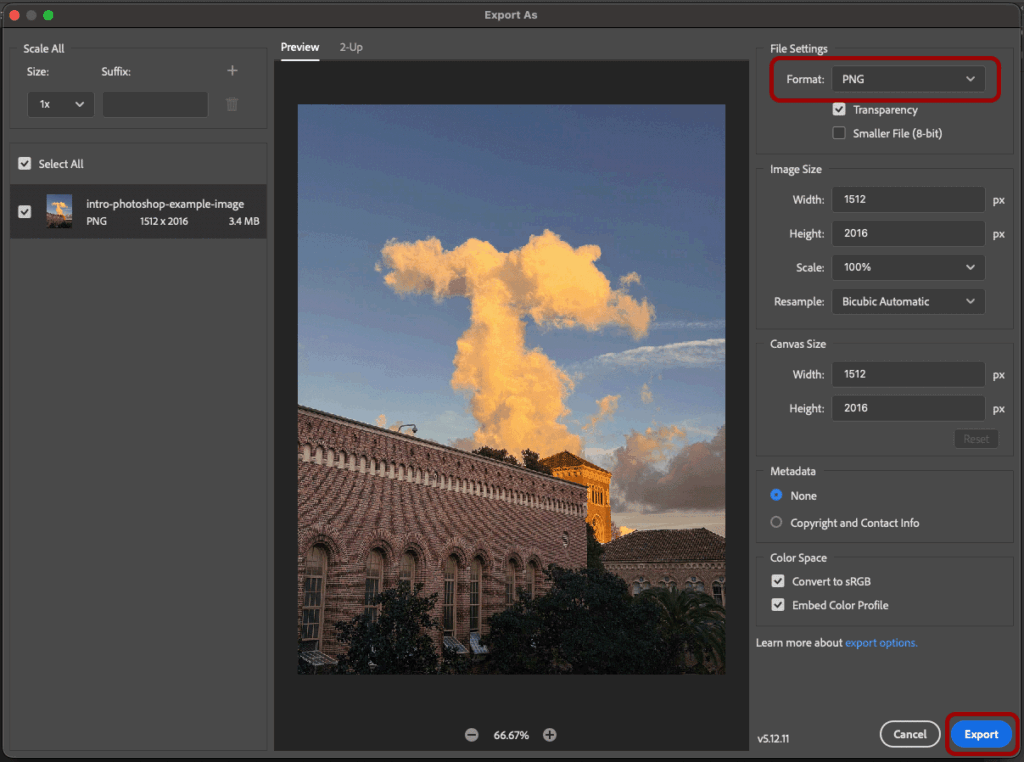
- Select the file format in the Format dropdown setting.
- Click Export.
- In the Export As popup window, navigate to the location on your computer to which you’d like to export the image.
- Click Export.
Final Result
Want to learn more photo editing techniques in Photoshop? Check out our Become a Photo Editing Pro with Photoshop Filters workshop!