
Compress a PDF
Compressing a PDF is making the file smaller by eliminating unnecessary data. Whether you are uploading an application with a file size limit or just trying to attach your .pdf to an email without slowing Gmail to a crawl, sometimes a document is just too big. So, in case you have a project due in 5 minutes and come across the “File Size is Incompatible” error, here’s how to shrink down your PDF.
Acrobat Version (Mac or PC)
1. Open your file in Adobe Acrobat.
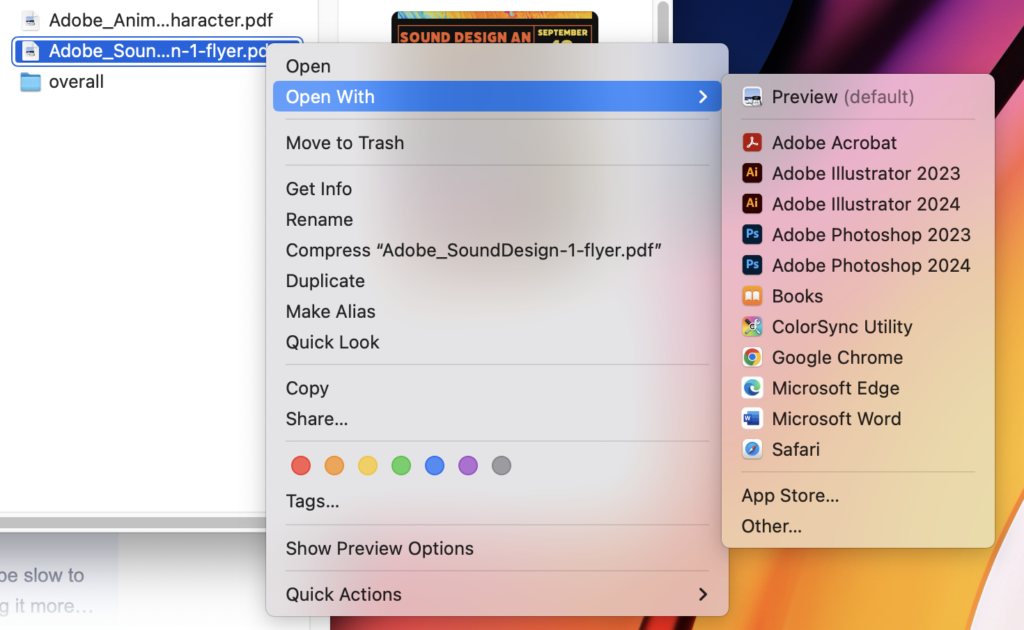
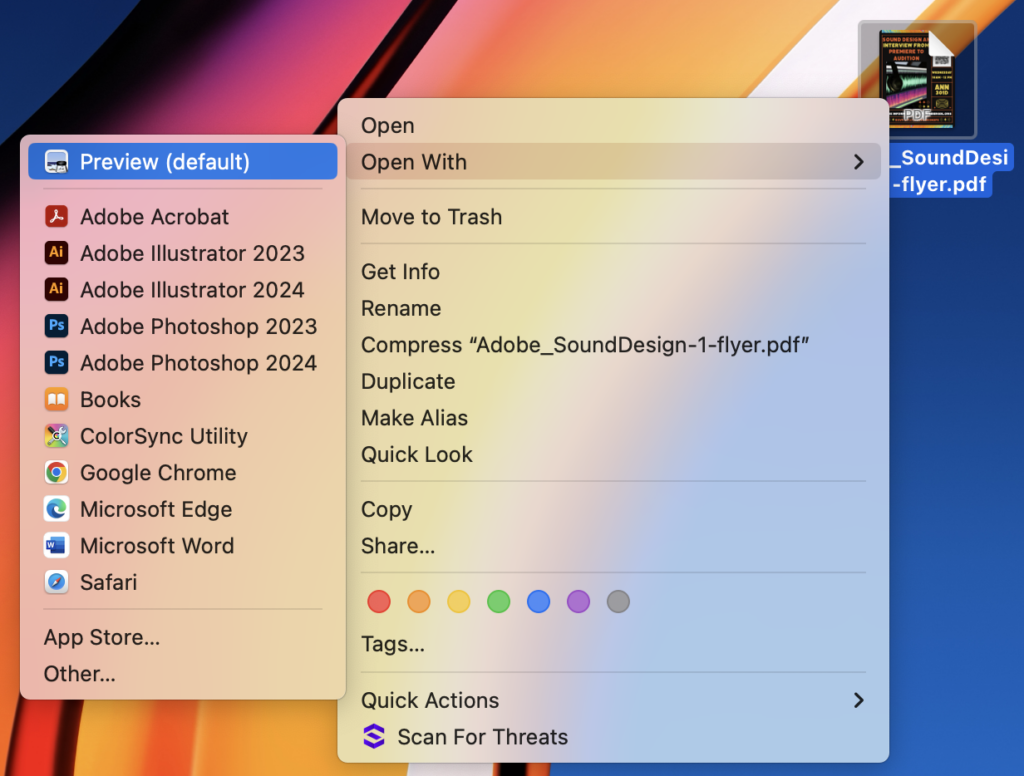
Depending on your settings, pdfs will automatically open in Acrobat when you double click it, or you can right click/control click on the document and choose to Open With > Adobe Acrobat.
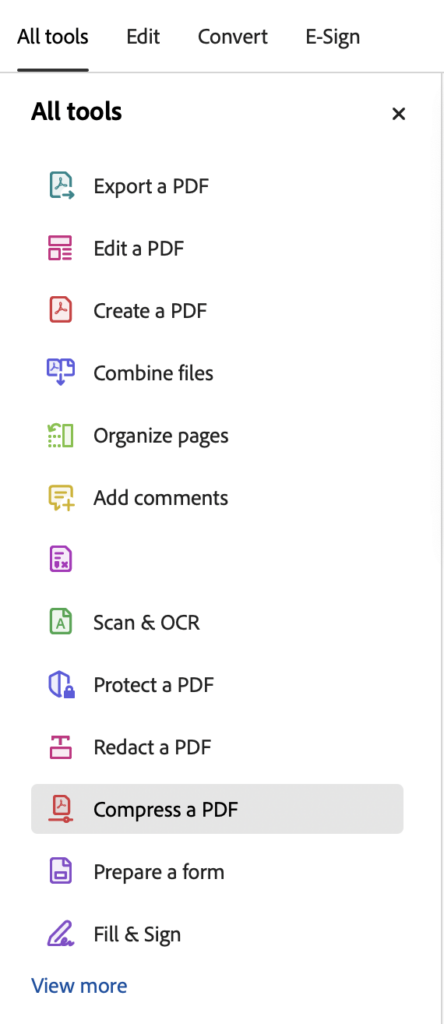
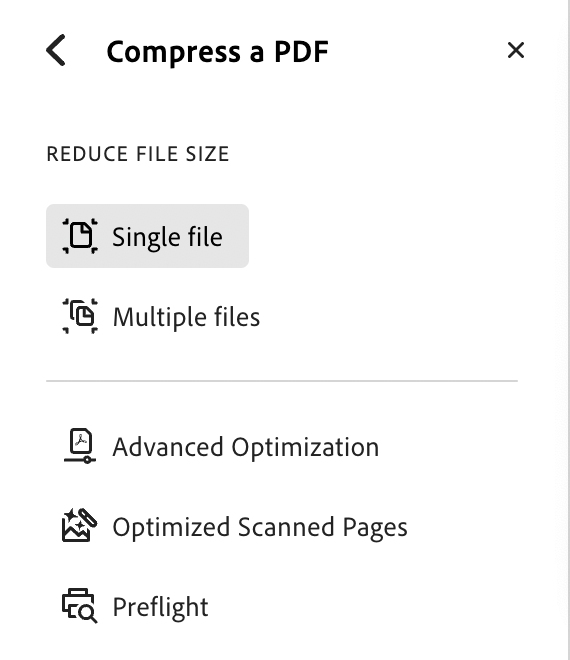
2. On the left side of the screen, you will see that there are now tabs. Click Compress a PDF. It will bring you to the options screen. Click Single File.
3. Acrobat will then ask you where you want to save your file.
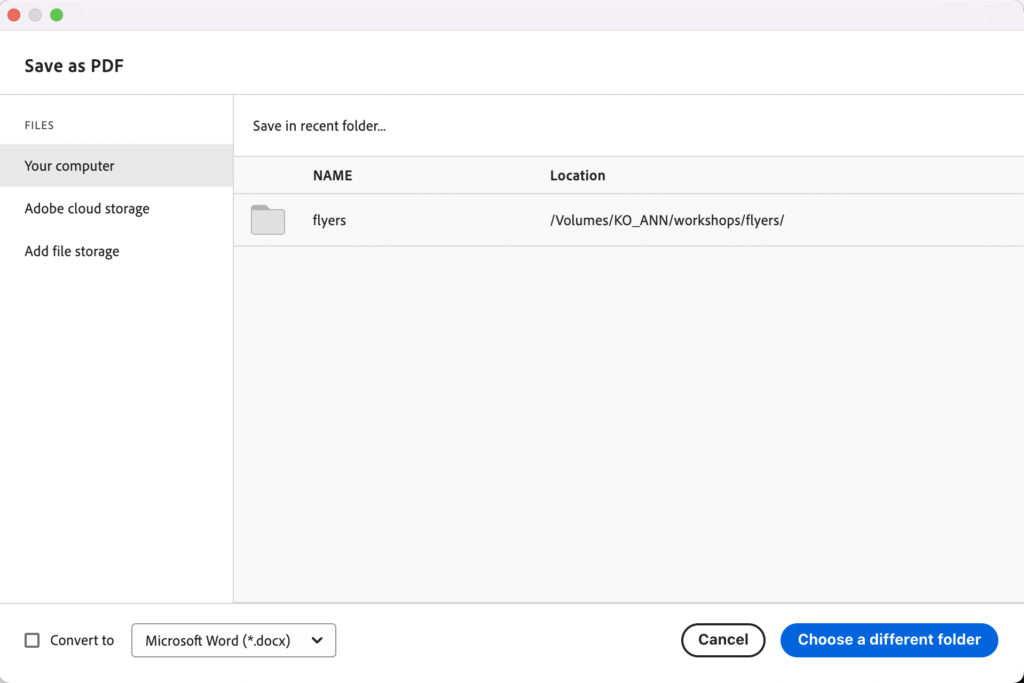
4. Rename your file and click Save. Now you have a newly compressed pdf!
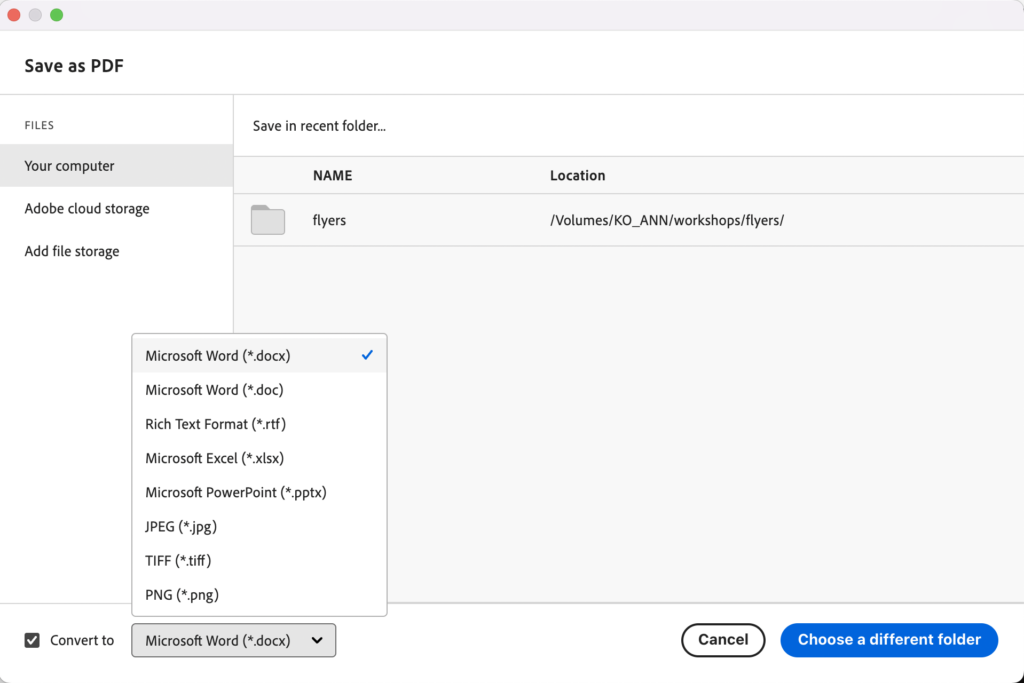
Acrobat also allows you to convert the document to another file type. Checkmark the Convert to box and choose what file type you want before saving the file.
Preview Version (Mac)
1. Go to Finder and locate you document. Then Right click > Open With > Preview (or just double click the file, depending on your settings).
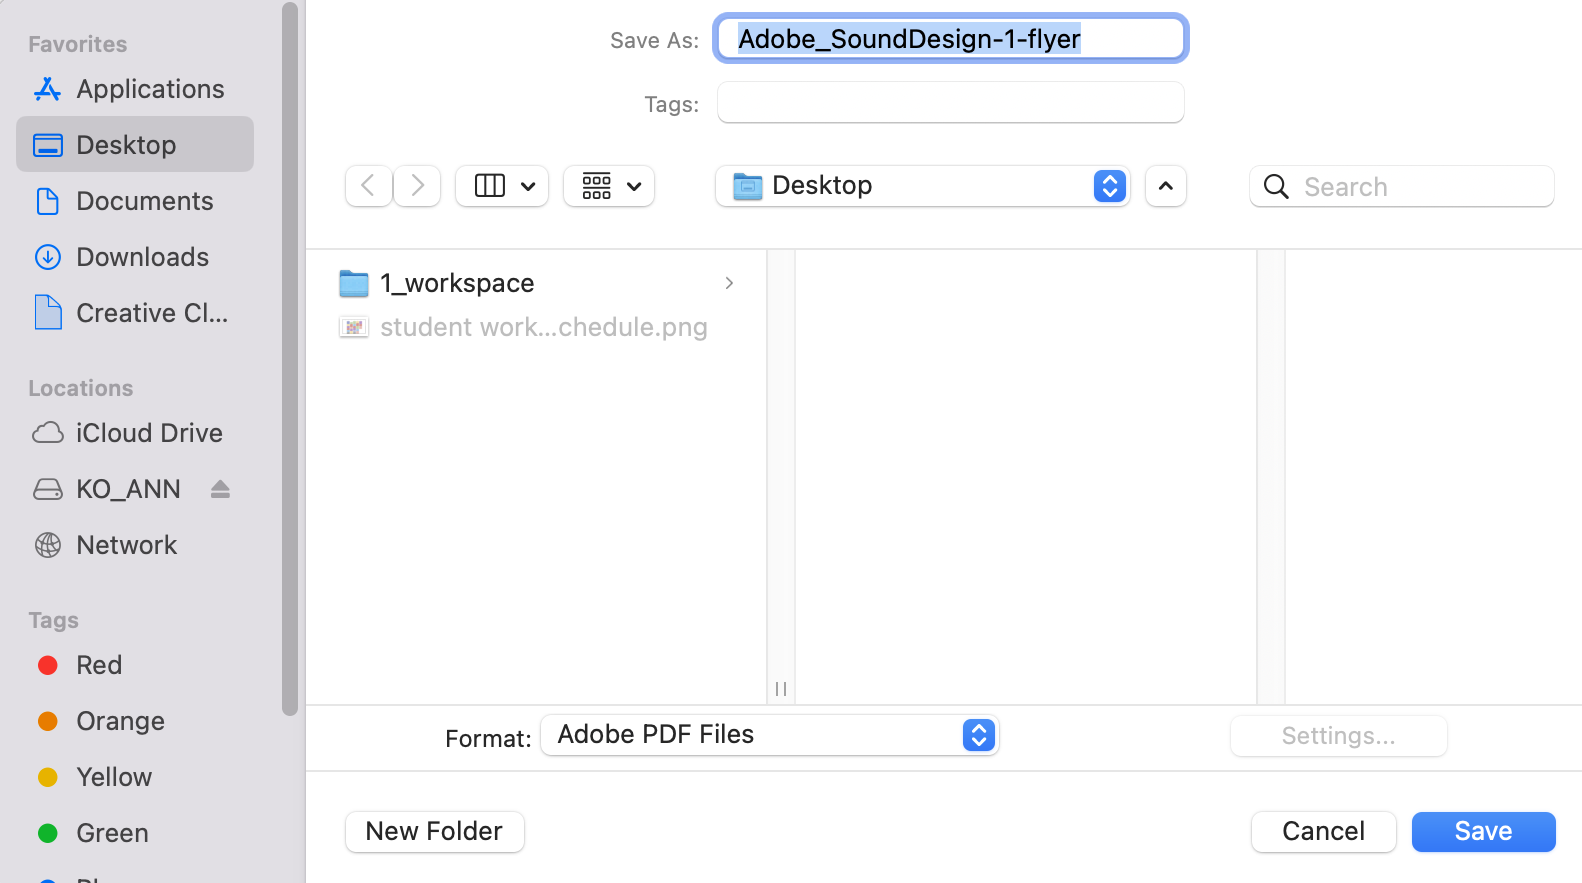
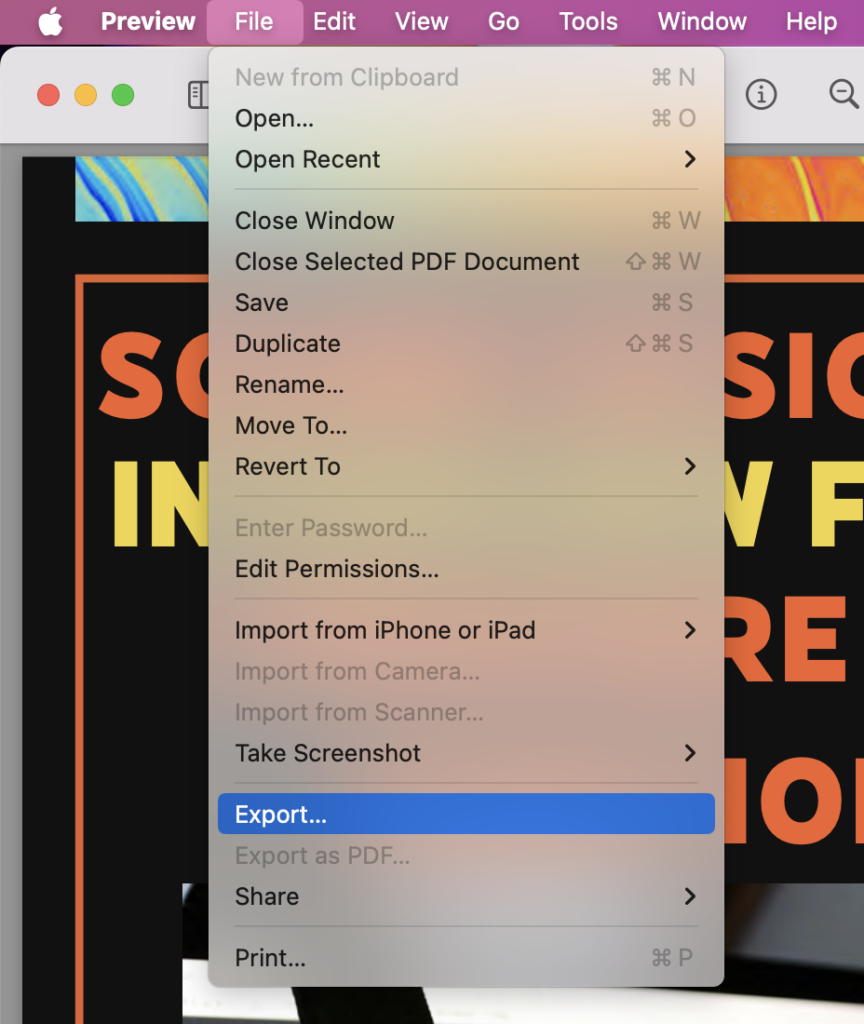
2. Select File > Export.
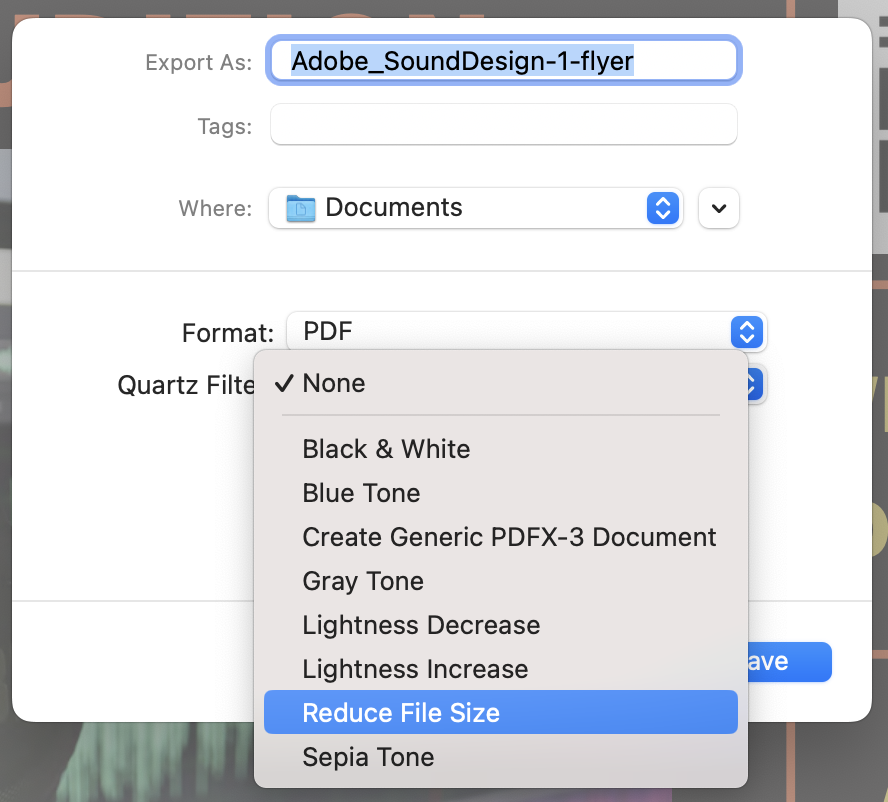
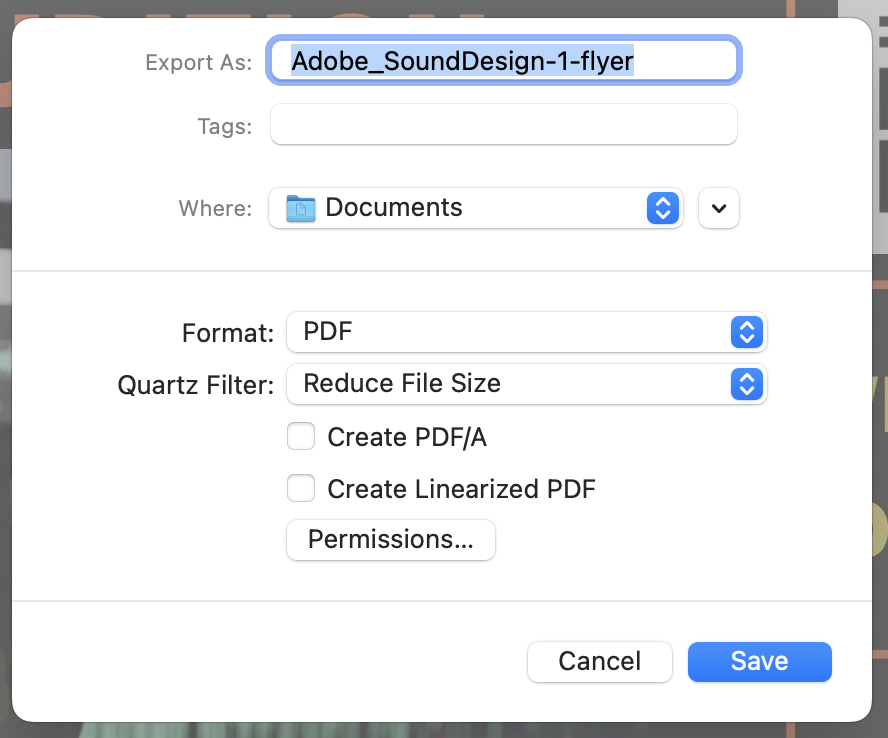
3. Rename your file and under Quartz Filter, change the option from None to Reduce File Size.
4. Click Save. Congrats! You compressed a PDF!
Interested in learning other Adobe products? Check out our workshop, Overview of Multimedia Design with Adobe Creative Cloud!