
How to Use the Blend Tool in Illustrator
This tutorial will teach you 6 different uses of the Blend tool in Adobe Illustrator.
Select the Blend Tool
There are three ways to select the blend tool.
- Press W to use a keyboard shortcut
- Object > Blend > Make
- Click the Blend Tool on the tools palette. It’s a circle with a square tucked behind it
Blend Various Shapes
Blend 2 Shapes
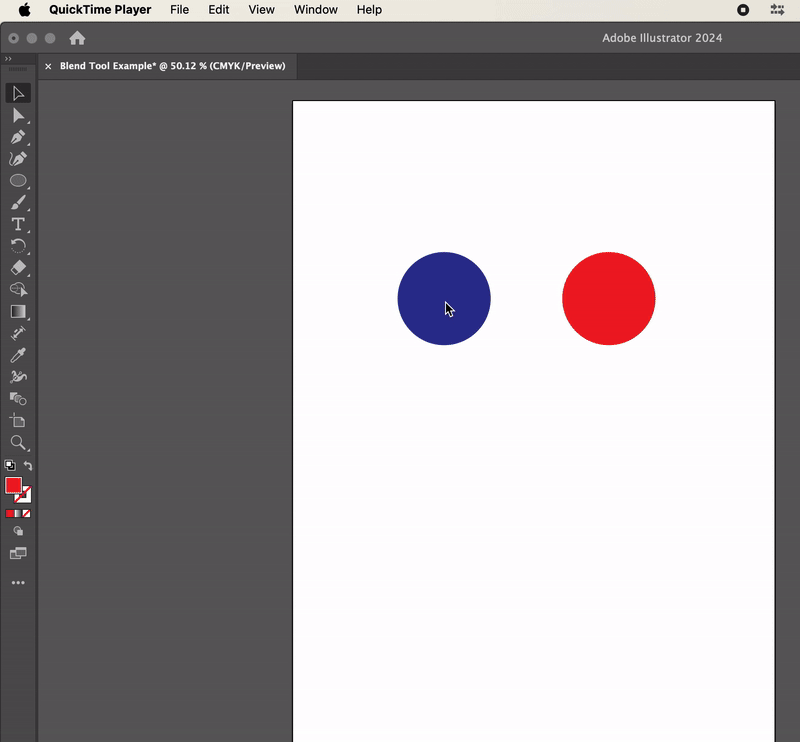
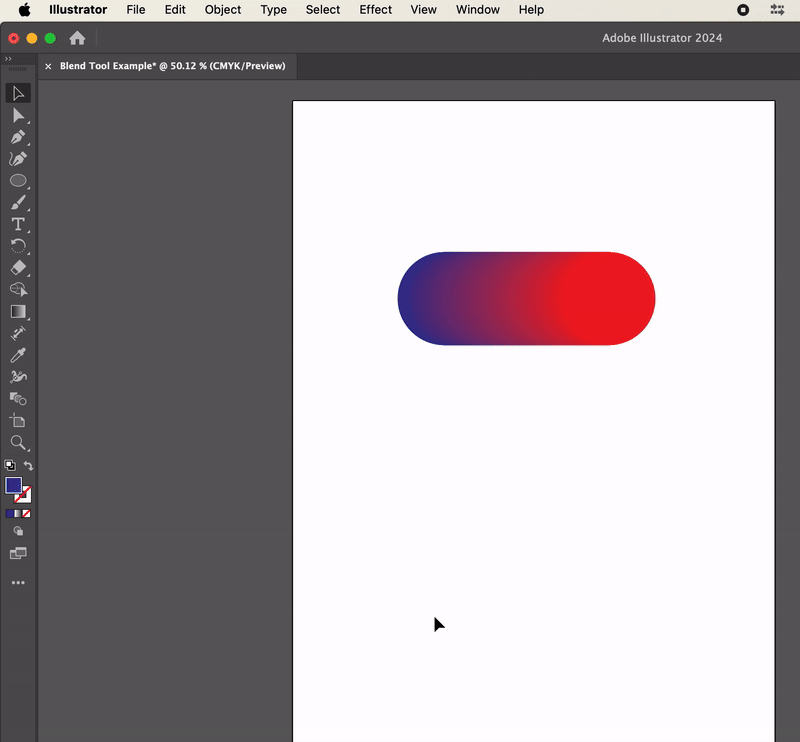
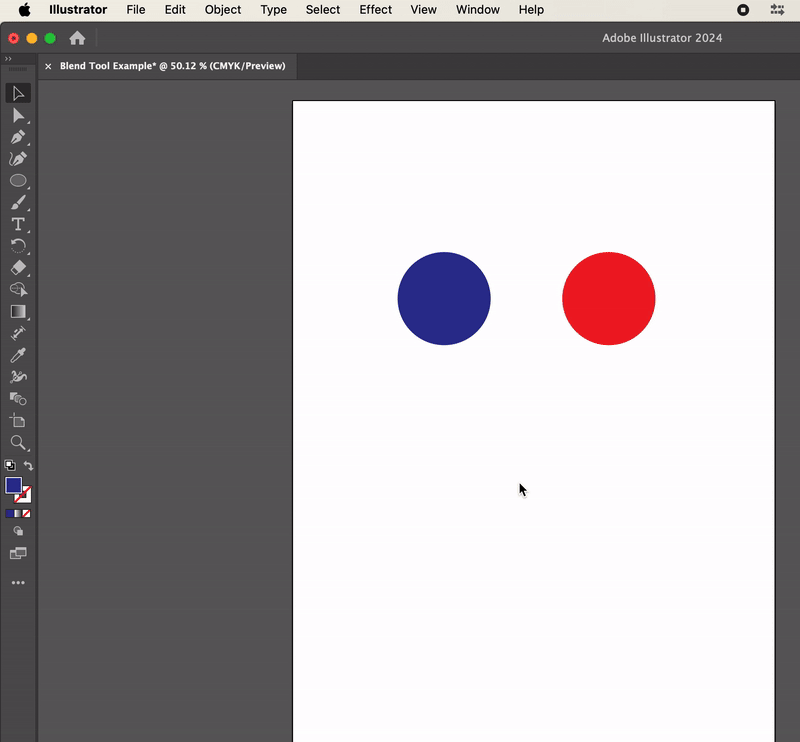
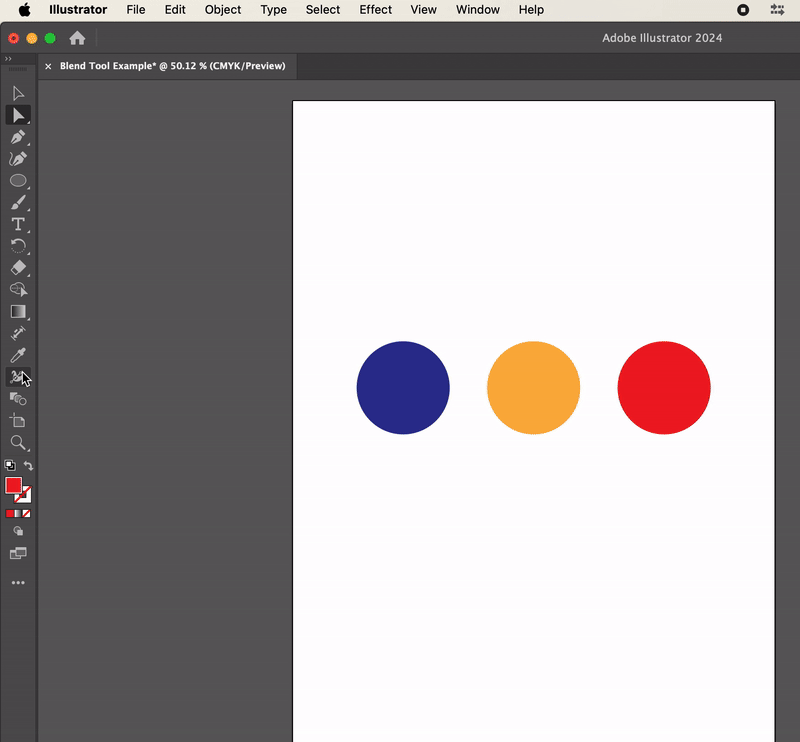
You can blend 2 shapes regardless of size and shape.
Make any two shapes and select them both. Click one shape, then hold Shift and click the other. Navigate to Object > Blend > Make.
Alternatively, you can use the keyboard shortcut W to make it easier and faster.
If your blend looks the wrong color, double-check to ensure you don’t have a stroke color added to either shape!
To change the blend options, navigate to Object > Blend > Blend Options.
Using the Keyboard Shortcut (W)
Press W, then click the two shapes you want to blend.
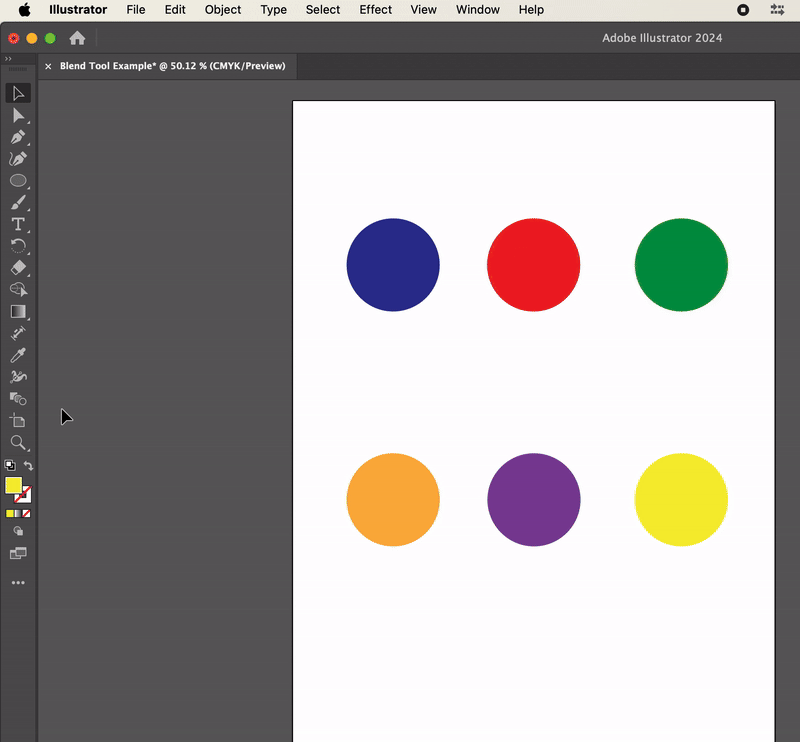
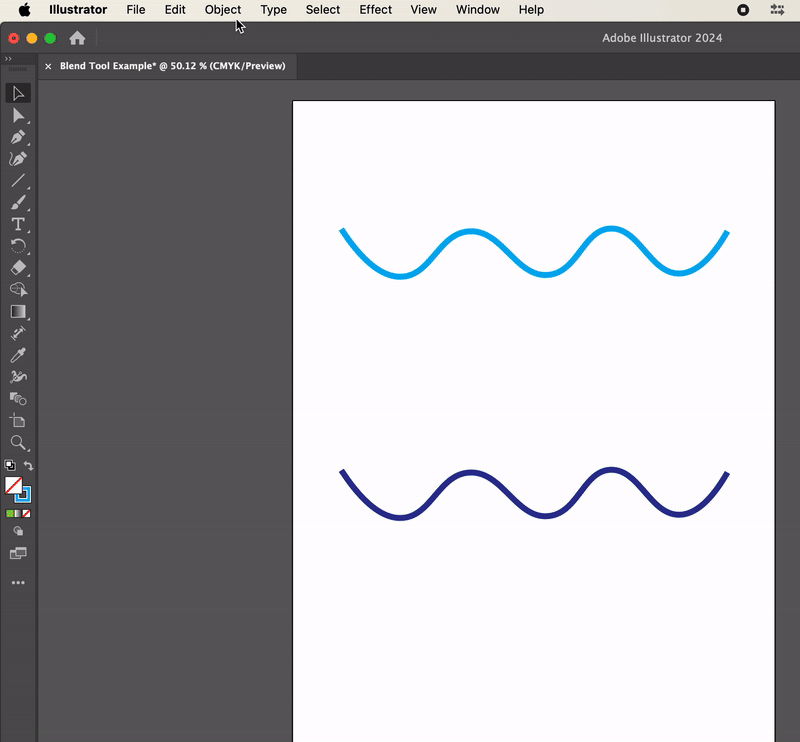
Blend 3 Shapes
Blending 3 shapes can create a beautiful gradient of colors transitioning between them.
Create 3 shapes of different colors and align them. Press W to activate the Blend tool, then click each shape.
The blend will produce a different effect depending on the order in which you click each shape.
Blend Multiple Shapes
Blending multiple shapes is as easy as blending two shapes.
Create multiple shapes and position them as you please.
Quick tip: create one shape, hold the Option (Mac) or Alt (Windows) key and move the shape. This duplicates the shape to create multiple shapes quickly!
Press W to select the Blend Tool. Click each shape in the order you want to blend.
The Blend tool remains active unless you choose another tool.
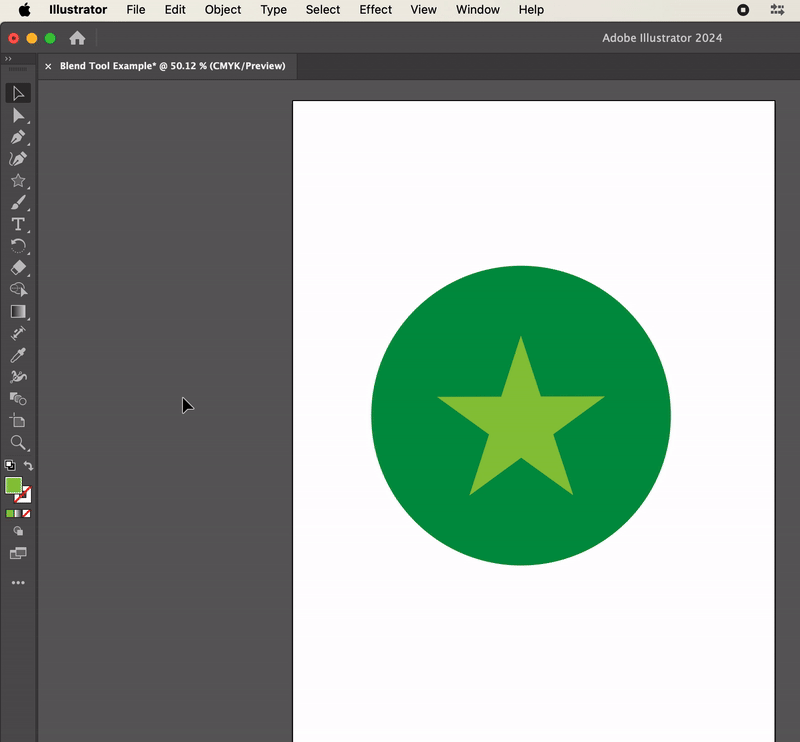
Blend a Shape Within a Shape
You can use the Blend tool to transition between several colors and shapes to create an illusion of depth.
You can also use the Blend tool to make a shape look 3D depending on where the shapes are positioned.
Create any shape. Create another shape on top of the first one.
Press W to select the Blend tool. Click on the top shape, then click on the background shape.
Blending Options
You can find different options to blend shapes in the Blend Options menu. Navigate to Objects -> Blend -> Blend Options.
- Smooth Color: Illustrator automatically calculates the number of steps for the blends
- Specified Steps: controls the number of steps between the start and end of the blend
- Specified Distance: controls the distance between the steps in the blend
Create two shapes. Press W to select the Blend tool and click each shape.
Blending two shapes without controlling the Blend Options creates a result like this:

To create blended copies of the shape in between the two shapes, navigate to Objects > Blend > Blend Options. Change the Spacing setting to Specified Distance and input the desired distance. Click OK.
Once you’ve set the blend options, use the blend the shapes as you would have before!
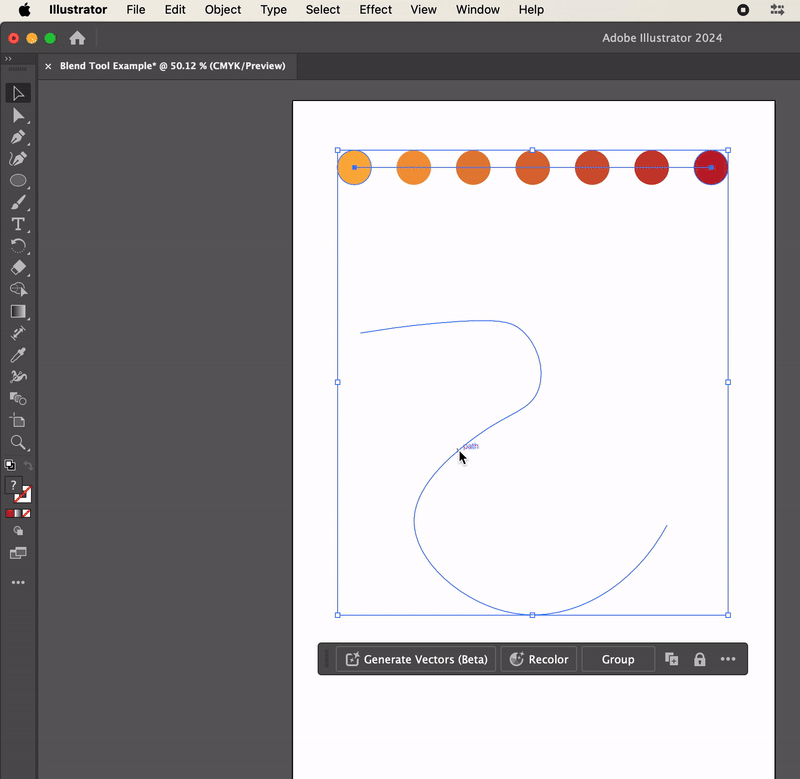
Replace Spine Option
After creating any blend, you can change the path on which it blends.
Create a path using the Pen, Curvature, Paint Brush, or Pencil tools. Blend the shapes. Select both the path and the blended shapes. Navigate to Option > Blend > Replace Spine.
Now that you know how to use the Blend tool in Illustrator, you can use it to create more interesting designs!
Want to learn more about Illustrator? Take a look at our other Illustrator Tutorials!