
Remove Stuff in a Video with After Effects
Let’s remove stuff in a video that we don’t want by masking it out with After Effects!
Download the Tutorial File
Download the video to follow along: AE Mask Tutorial – Sample File
Start a New Project & Import the Files
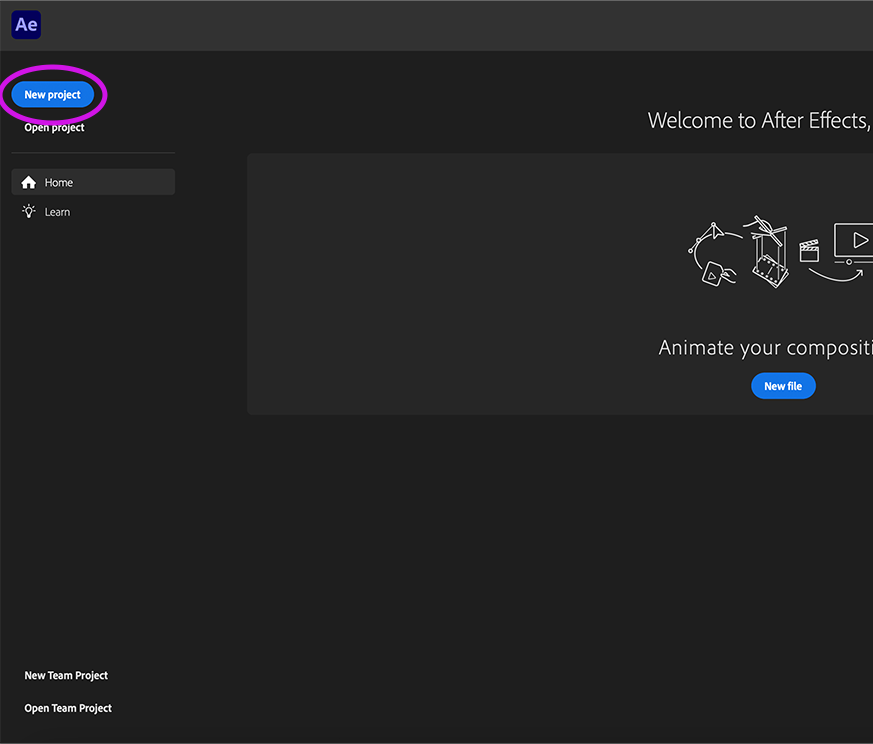
Open up After Effects and click New Project.
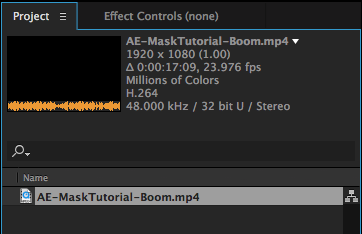
Import the video file using one of the following:
- Drag the video file into the Project tab.
- Command + I (Mac) or Control + I (Windows) to open an import window and navigate to your files
- Go to File > Import > File…
Start a New Composition
Click and drag the video file into the New Composition button at the bottom of the Project tab.
Duplicate It, Then Hide the Bottom Layer
Now we have a sequence created and the video in the timeline below. Let’s duplicate the video layer by selecting it and hitting Command + D (Mac) or Control + D (Windows). You can also go to Edit > Duplicate.
Hide the bottom layer by clicking the eyeball toggle to the left of the track.

Mask Out the Boom Mic with the Pen Tool
Select the top video layer and click the Pen tool. You can also use the shortcut G to activate the Pen tool.
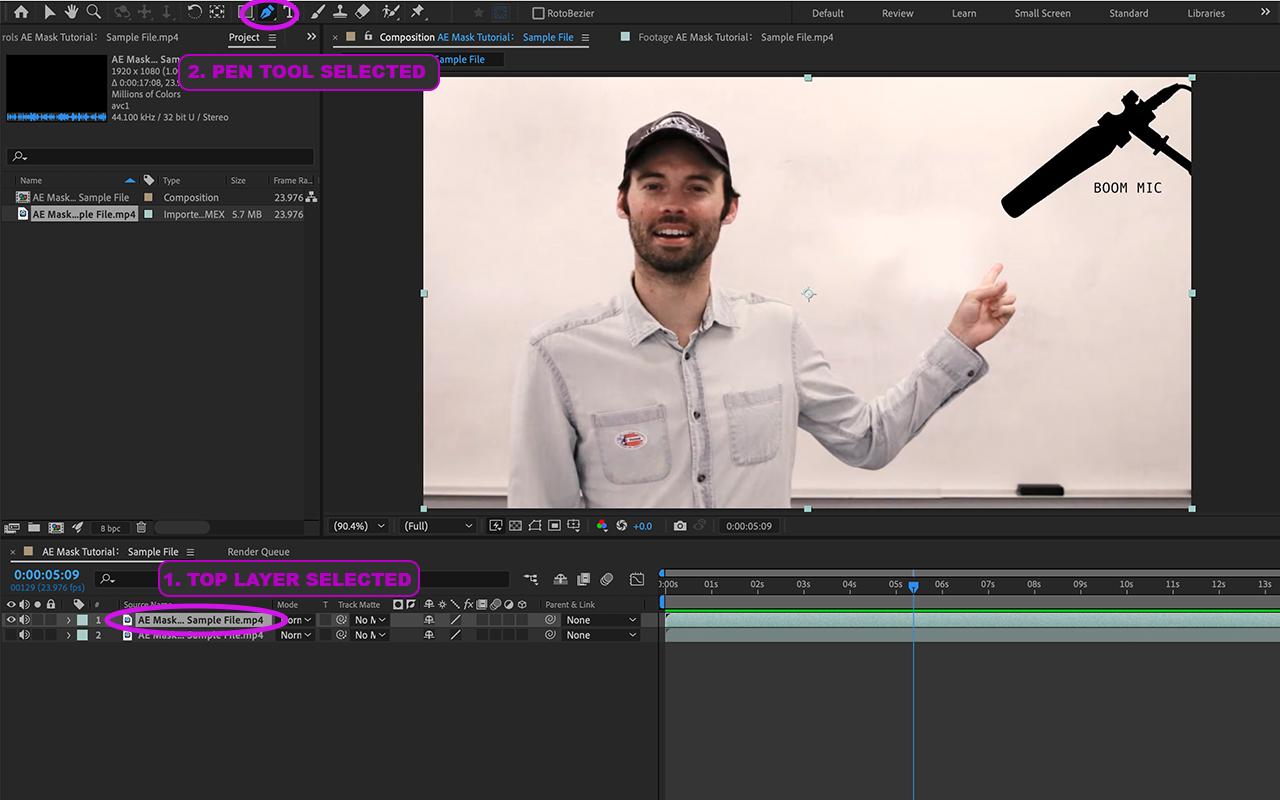
Drag the playhead in the timeline to the middle of the clip so you can see the boom mic in the shot.
Using the Pen tool, draw a series of points that outline the boom mic to complete a shape around it.
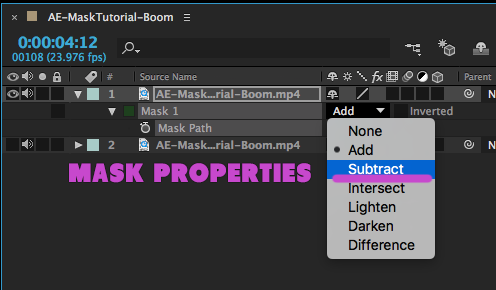
Adjust the Mask Settings
Once you close the mask by setting the end point at the start point, After Effects masks out the outside of your path. Use the shortcut M to jump down to the Mask Options and select Subtract.
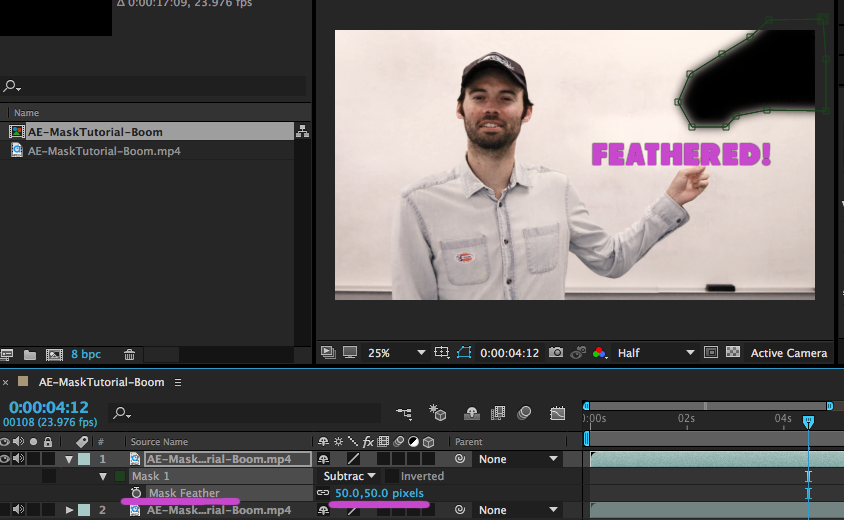
This cuts out the inside of your path. Next, let’s feather the mask so it fades into the background more smoothly. Use the shortcut F to bring up the Mask Feather properties and set it to 50px. If you’re following along with a different video clip, you may need to adjust the feather amount.
Show The Bottom Layer & Re-Position It
Click the eyeball toggle on the bottom layer to unhide it. Oh no, the microphone is back! Let’s move bottom layer over to show the white board in back instead of the microphone.
Use the shortcut P to open up the Position Options for the bottom layer. Drag the X coordinate to the right to make move the microphone to the right.
Watch the finished version here:
If you want to try out masking in Photoshop, check out our Combining Photos in Photoshop (without the “Photoshopped” look) workshop!