

Make a Table of Contents with InDesign
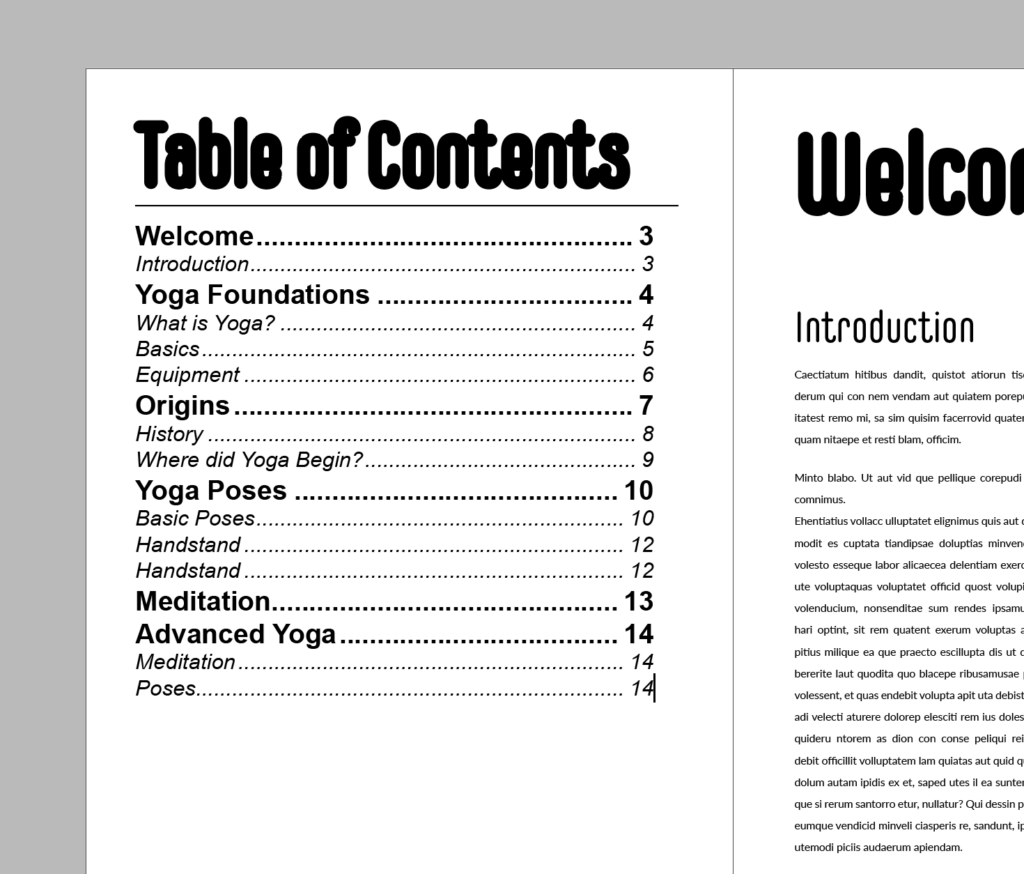
Adobe InDesign is a great tool for the layout and design of multi-page documents. In this tutorial, we’ll explain how to make a table of contents using this example booklet.
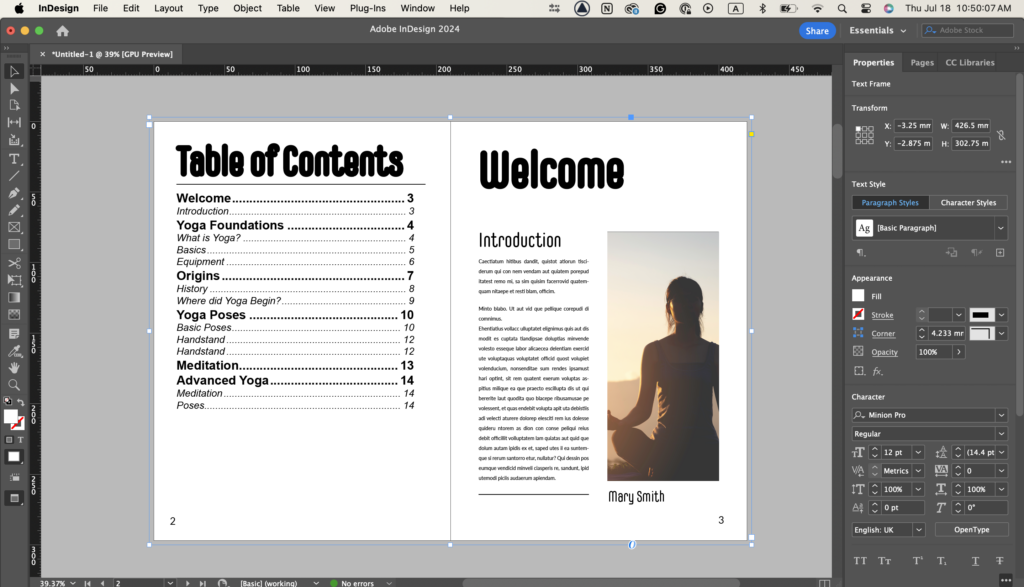
Photos provided by Adobe Stock
Methods to Make Your Table of Contents
Manually Enter Your Information

For short documents, it’s easiest to type the chapter or section titles and their corresponding page numbers. Scroll through the document to find the page number or open the Pages panel to see all the pages in your document and their page number.
Type out the page number next to the section title with just a space in between. Go to the Format a Table of Contents section to learn how to format and add dot leaders.
Automatically Generate Your Table of Contents
If you’re working on a long, complex document, you can set up your document so that InDesign finds and enters your section titles and page numbers for you.
Set up your document with Paragraph Styles
InDesign creates a table of contents using Paragraph Styles, which are formatting templates for text that allow InDesign to keep track of where text is in the document. Navigate to the Properties panel > Text Style section.
Create a Paragraph Style
Select the section title and click the plus icon in the Text Style section of the Properties panel to create a new Paragraph Style. Click the paragraph style name to rename it ‘Section Title.’
Use a Paragraph Style
Now, select the other section titles in the document and click ‘Section Title’ in the Paragraph Styles menu to apply the style. The same text formatting from the original section title applies to any text you set to the ‘Section Title’ paragraph style. Additionally, InDesign now can look up which page it is on.
You can change the formatting of text with a Paragraph Style applied to it, and a ‘+’ sign will appear next to the style name. InDesign recognizes this text as having that style, even if it looks completely different.
Format your document
Apply the ‘Section Title’ Paragraph Style to all of the section titles. Since they are all formatted the same way, nothing looks any different, but now InDesign recognizes them. You can also create a Paragraph Style for the sub-section titles and do the same.
Generate the table of contents
Now that the document is set up, InDesign can find the Section Titles and Sub-Section Titles and insert their page numbers for you. Create a text box to place your table of contents in on the page at the beginning of the document.
In the top menu bar, navigate to Layout > Table of Contents.
Select the Section Title style in the Other Styles box and click the Add button to move it to the Include Paragraph Styles box. This tells InDesign to include all text styled as a ‘Section Title’ in the table of contents. You can also move the Sub Section Title style to the included box in the same way.
To edit the styling of the table of contents, click the Style drop-down menu and change it to whatever paragraph style you would like. You can also change it manually outside of this dialogue box. Otherwise, they will show up in their original styles and fonts.
To place the table of contents, click OK on the dialogue box. Then, click the text box that you created earlier to place your table of contents.
Format a table of contents
Dot leaders
Dot leaders are the series of dots that lead from a left-aligned section title to a right-aligned page number in a table of contents.
If you manually created your table of contents, delete the space between your section title and page number and press Tab on your keyboard. If you generated the table of contents using the ToC dialog box, it should already be set this way.
Next, highlight your table of contents. In the menu bar, navigate to Type > Tabs. You can also use the keyboard shortcut Command + Shift + T (Mac) or Control + Shift + T (Windows). A ruler will appear over the text box. If it’s not aligned to the top of your text box or you accidentally move it, select the text box and click the magnet icon on the right side to snap it back in place.
In the top left corner of the Tabs window, select the third arrow from the left to set a right-justified tab. Click on the thin bar just above the ruler and drag the tab all the way to the arrow on the right to set the tab at the end of the text box. The page number aligns to where you drag the tab.
Finally, to add dot leaders, type a period (.) into the Leader box and press Enter. InDesign inputs dot leaders in the tab space. If nothing happens, make sure the the arrow you placed on the ruler is highlighted.
Final details
To make it clear that the sub-section titles appeared under a main section, indent them and make them a smaller, lighter font.
To learn more about getting started with InDesign, visit our InDesign Tutorials.