
Digital Cinematography – The Basics
Digital Cinematography
So, you want to be the next Roger Deakins? Conrad Hall? Emmanuel Lubezki? Maybe you don’t know who any of these people are, and you just want to shoot a short film that looks cinematic. These tips can be applied when you shoot with a camera, but some can even make phone videos look cinematic (tip: if you want to adjust more camera settings on your phone, download Filmic Pro).
How do you get that film look without spending a fortune on film stock or top industry-grade equipment? There are a few basics you need to know. Here we go: it’s your Intro to Basic Cinematography.
First, let’s define the term “cinematography”. What is cinematography? Unlike photography, cinematography deals with moving images aka making movies! In the film industry, cinematography is both an art and a technical skill. The cinematographer is in charge of lighting the scene, controlling the camera movements, and choosing lenses and stocks, all to fit the emotional needs of the film and the vision of the director.
A good baseline to start at is to try to emulate standard 35mm film exposure settings as a baseline. You can set your ISO at 400-500, the ISO for most standard film stocks, and try to keep the shutter speed at around 1/48, which is also the standard for film. You can then adjust the aperture, and light the shot accordingly. But what does all this mean?
Many of the basic cinematography terms are similar to those relating to manual photography. If you’re into photography already, you’ve got a head start. Let’s go over the basics.
Resolution
Although many higher-end cameras (and even phones) can shoot up to 4K, 6K, and even 8K, none of these resolutions matter unless you’re going to project what you shoot on a giant movie theater screen. For digital video and DSLR, we’re going to stick to 1080p/HD. This means you will be shooting an image with 1920 x 1080 pixels. On a small screen, this resolution is sufficient for most digital video.
Lenses/Focal Length
Now, let’s pick a lens.
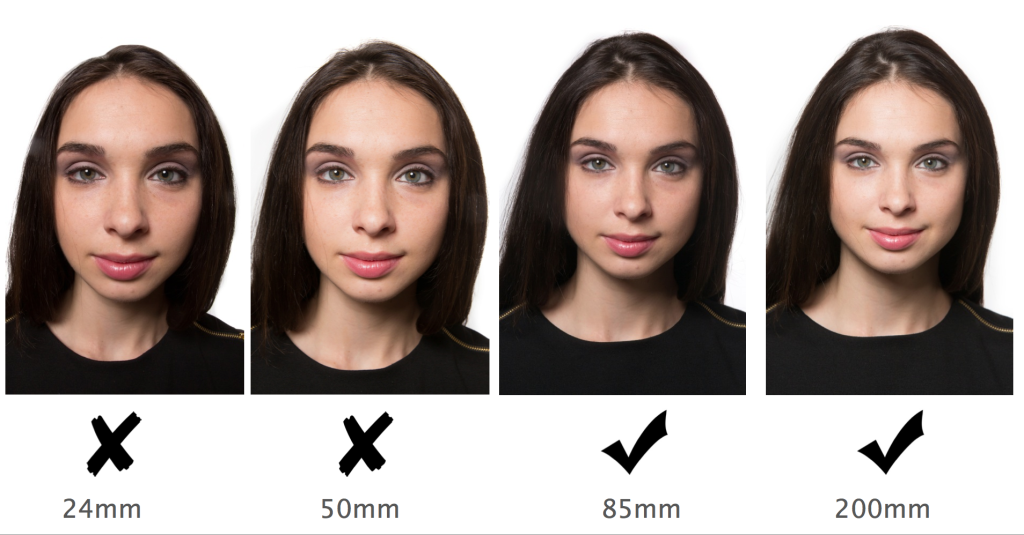
In cinematography, the lenses you choose to use are as important, or even more important, than the camera body you choose. But assuming you’re using a Canon DSLR like the 60D or 5D, it’s most important to understand different focal lengths, and how they affect your footage. Focal length is measured in millimeters, and is technically defined as the “distance in millimeters from the optical center of a lens to the imaging sensor when the lens is focused at infinity”.
But, that’s not too important to memorize. As long as you know how the 3 categories of lenses affect your image, you’re good to go. So, let’s go over the three main categories of lenses:
Standard lens (~50mm-70mm) A standard lens at 50mm is closest to the way that a human eye perceives space. With a standard lens, there’s no compression of space or warping of the image. It’s a good go-to.
Telephoto lens (~70-onward)
A telephoto lens will generally have a shallower depth of field than a wide angle or a standard lens. Telephotos compress the space in an image, as in this crowd scene in “Tootsie.” Notice how the subject is separated from the rest of the crowd, who appear very close to each other, yet they are out of focus.
Wide Angle Lens (~10mm-49mm)
A wide-angle lens has a deeper depth of field. Wide angles tend to warp the shot, so that if you looked at a flat horizon with a wide angle, both sides of it would curve ever to slightly up on the right and the left. Wide angles tend to not be flattering for close-ups, but this can also be used as a stylistic choice like Terry Gilliam does in “Fear and Loathing in Las Vegas.”

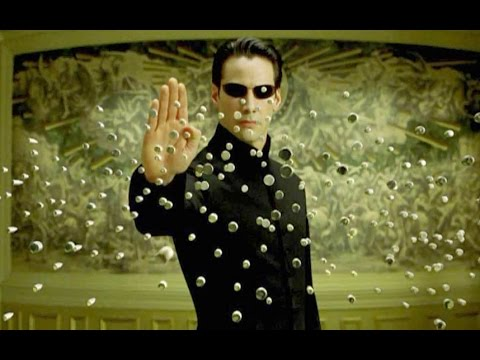
There are also fish-eye/super wide-angle lenses (usually less than 10mm), that warp your image so that it looks like you’re swimming in a fishbowl. The fisheye effect is usually confined to super stylized shots because they tend to disorient the audience, like this scene in Requiem for a Dream. But if that’s what you want, go for it!
Frame Rate
Now let’s pick a frame rate.
In old films, a certain number of pictures would be run through a projector to create the illusion of continuous movement. The amount of these pictures that appear per second is called the frame rate. Frame rate is the frequency at which frames in a television picture, film, or video sequence are displayed. A higher frame gives the effect of smoother motion.
With DSLRs, there are two main frame rates you should be familiar with.
24 fps/1080p – This is the standard for narrative filmmaking and single-camera television shows like Orange is the New Black or Breaking Bad. This look is considered more cinematic, and even on a DSLR, can make your footage look really nice.
30fps/1080p – This is the standard for broadcast news, talk shows, documentaries, soaps and sitcoms. Some people think this looks “cheaper”, but it also gives a sense of realism to what you’re shooting.
Depth of field
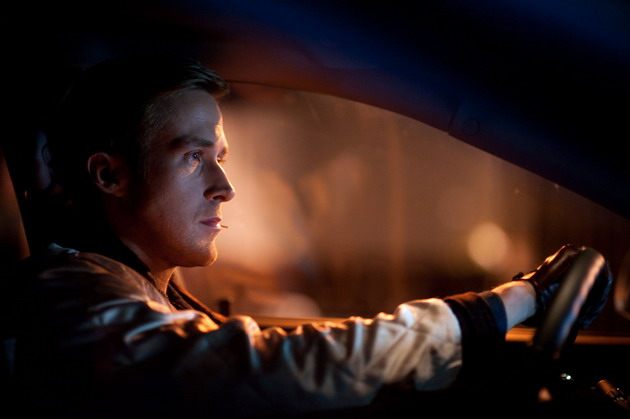
Depth of field is the distance between the nearest and the furthest objects that give an image judged to be in focus in a camera. A shallow depth of field can isolate your subject in focus and blur the background so that you get a “bokeh” effect.
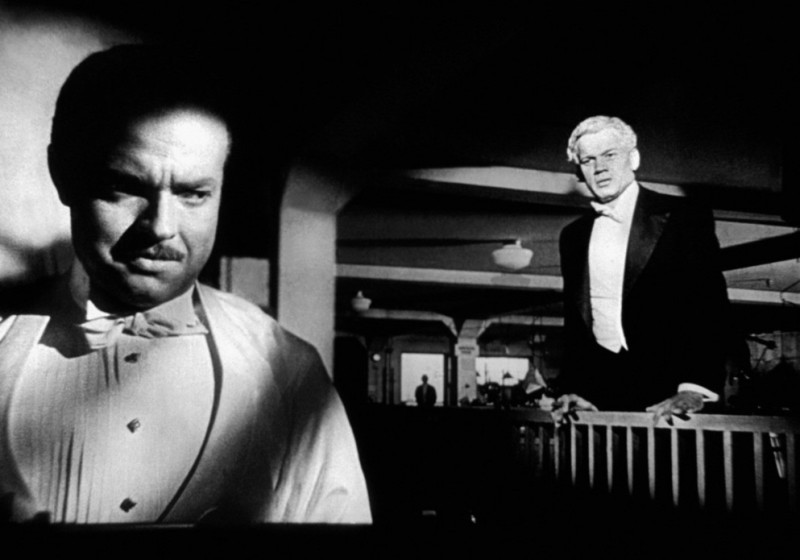
A deep depth of field will have many subjects on different planes in focus, as in “Citizen Kane.”
Overexposure and Underexposure
When you’re setting up your shots, make sure nothing is blown out (white, or overexposed), or underexposed (a black or very dark image). Overexposed images cannot be saved in post, so when in doubt, err on the side of underexposing rather than overexposing, because some dark footage can be saved in color correction.
Triangle of Exposure
Now that you’ve picked your lens, and frame rate, and know what effect you want, let’s adjust the exposure to achieve the look you want. There are three components to exposure: ISO, Aperture, and Shutter Speed. None of these three can be adjusted without affecting the other two, so it’s all about finding a balance.

Aperture/F-Stops
Think of the aperture like the size of your pupil dilating and contracting depending on how much light is hitting it. Think of the sensor of your camera as your retina. When you’re in dim light, your pupil is almost as big as a dinner plate, to let as much light into your retina as possible.
Aperture is measured in stops, or “f-stops”. Each stop difference either cuts the light hitting the sensor in half or doubles it. For example, if you were shooting at f-stop 2, and “opened up” to a 1.4, you would be letting in twice as much light.
F-stops are somewhat counterintuitive, in that the smaller the f-stop, the more light is let in.
The more open the F-stop, the shallower the depth of field.

ISO
ISO is the sensitivity to the light of the sensor or film. The lower the ISO, the less sensitive your camera will be to light. The higher the ISO, the more sensitive it will be to light.
The Canon 60D goes up to 3200ISO, which is great for night shoots. However, with that level of ISO, you tend to get a lot of grain.

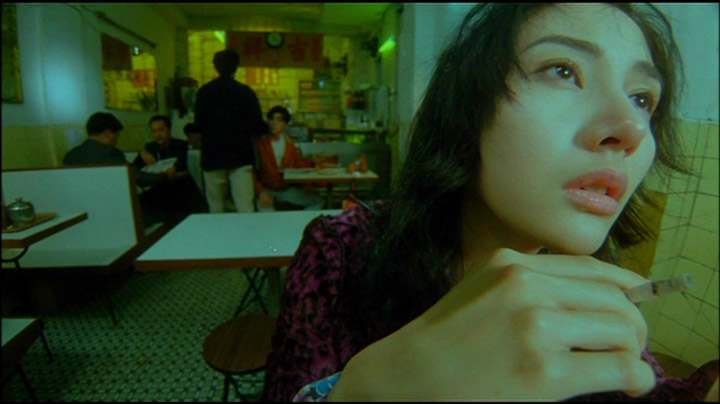
Shutter Speed
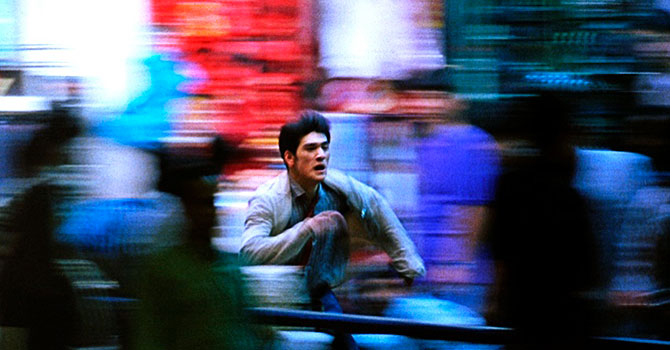
Shutter speed is the unit of measurement that determines how long the shutter remains open as the picture is taken. A slow shutter speed (1/2, ¼) will let more light in, and will create a motion blur effect, as seen in Wong Kar Wai’s “Chungking Express.”
A faster shutter speed (1/1000, 1/500) will allow you to capture fast motion without much blue, at the expense of letting less light in. Again, standard film uses a shutter speed of 1/48, which is somewhere in the middle.
Color Temperature and White Balance
Depending on what environment you’re shooting in, and what lights are available in that location, you’ll want to white balance before you press record. Many DSLRs have built-in preset white balance settings if you go into the menu. These work perfectly fine for simple projects and allow you to choose which color temperature is the most prevalent in your shot. Color temperature is measured in Kelvins.
The two standard color temperatures for both analog and digital film are Daylight (5500K) and Tungsten (3200K).
A good basic rule is white balance for daylight if you are shooting outside, and tungsten if you are shooting inside. Most standard light bulbs are around 3200K.
There are exceptions to this rule, however. One is mixed color temperature, and the other is shooting under fluorescents.
Mixed color temperature means that many different colors of light, or at least tungsten and daylight, are competing to light your shot. In this case, you would have to judge which white balance setting gives you your desired effect.
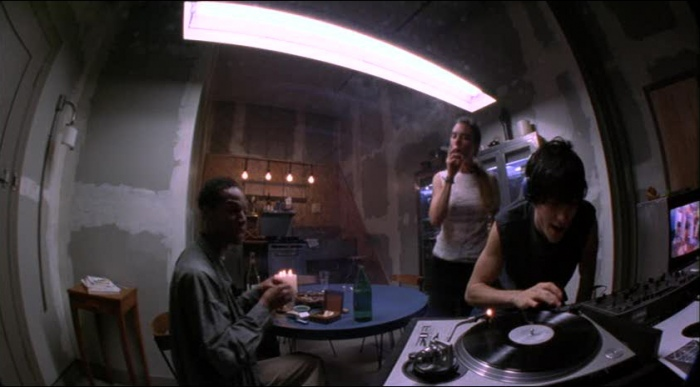
Balancing to daylight with mixed color temperature tends to give the scene, a cooler, slightly bleak or depressed look, while balancing to tungsten with a mixed color temp makes the scene look generally warm and inviting, or even aged. A mix of daylight and tungsten gives life and depth to your composition.

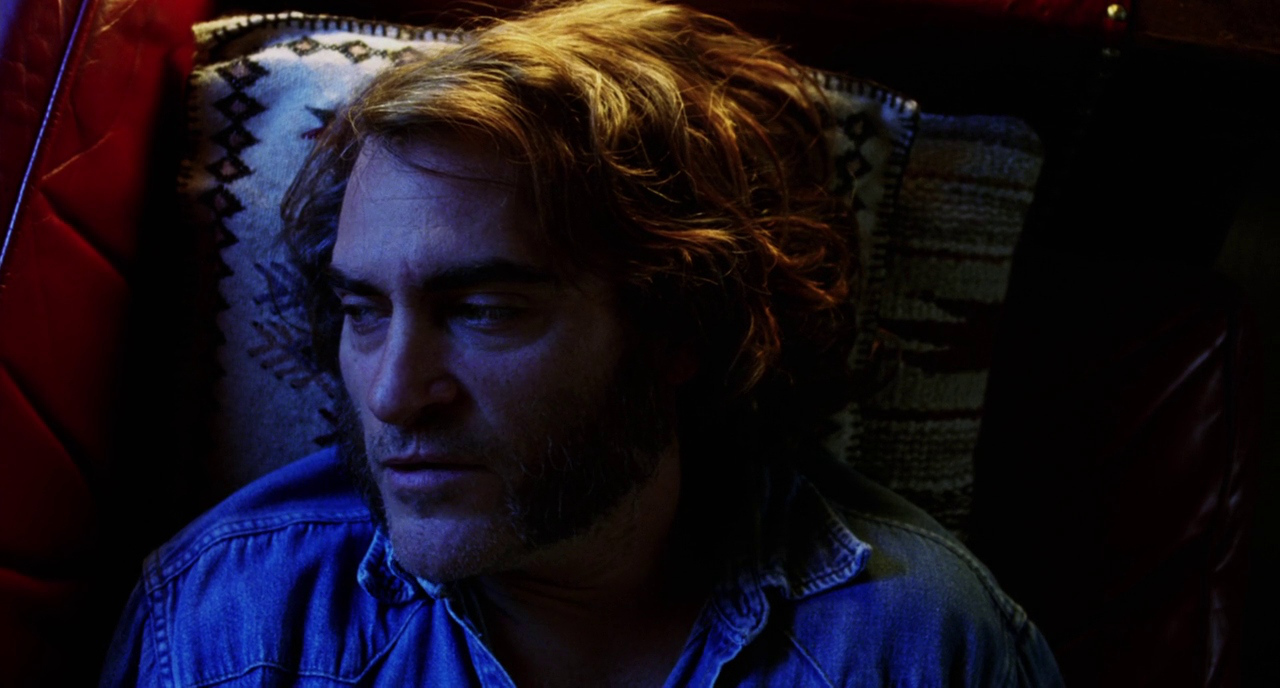
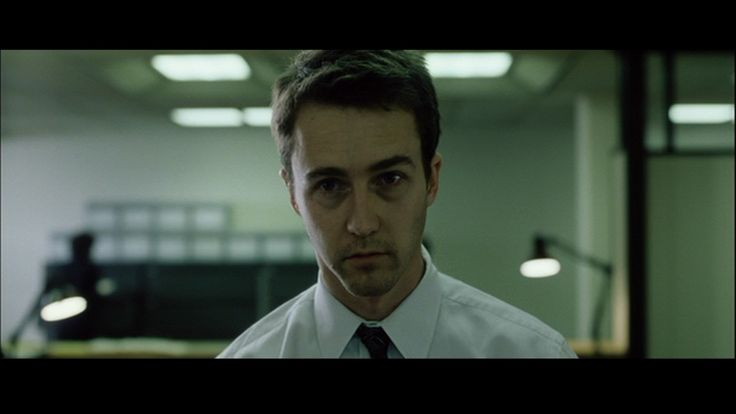
Be wary of shooting under fluorescents, as they can give an unflattering, sickly green hue to your shot. However, depending on what is going on in your scene, this can be used to your advantage. David Fincher uses this look in “Fight Club,” to express the exhaustion of Edward Norton’s character.
On most DSLRs, fluorescents are balanced around 4000K. If you need to shoot under fluorescents, this would be the correct setting. But beware, it will be a bit green.
Summary
In summary, each of these aspects of cinematography interact and influence each other, so the best way to understand what each one does is to go out and shoot. Even taking “test footage” on the Manual video and playing with the settings will give you a sense of what does what. You now have the skills to go out and shoot your movie!
Want to know what to do after the film is shot? Take a look at some of our Premiere Pro tutorials to learn about film editing!