
Create a Side-by-Side Picture Comparison with Juxtapose JS
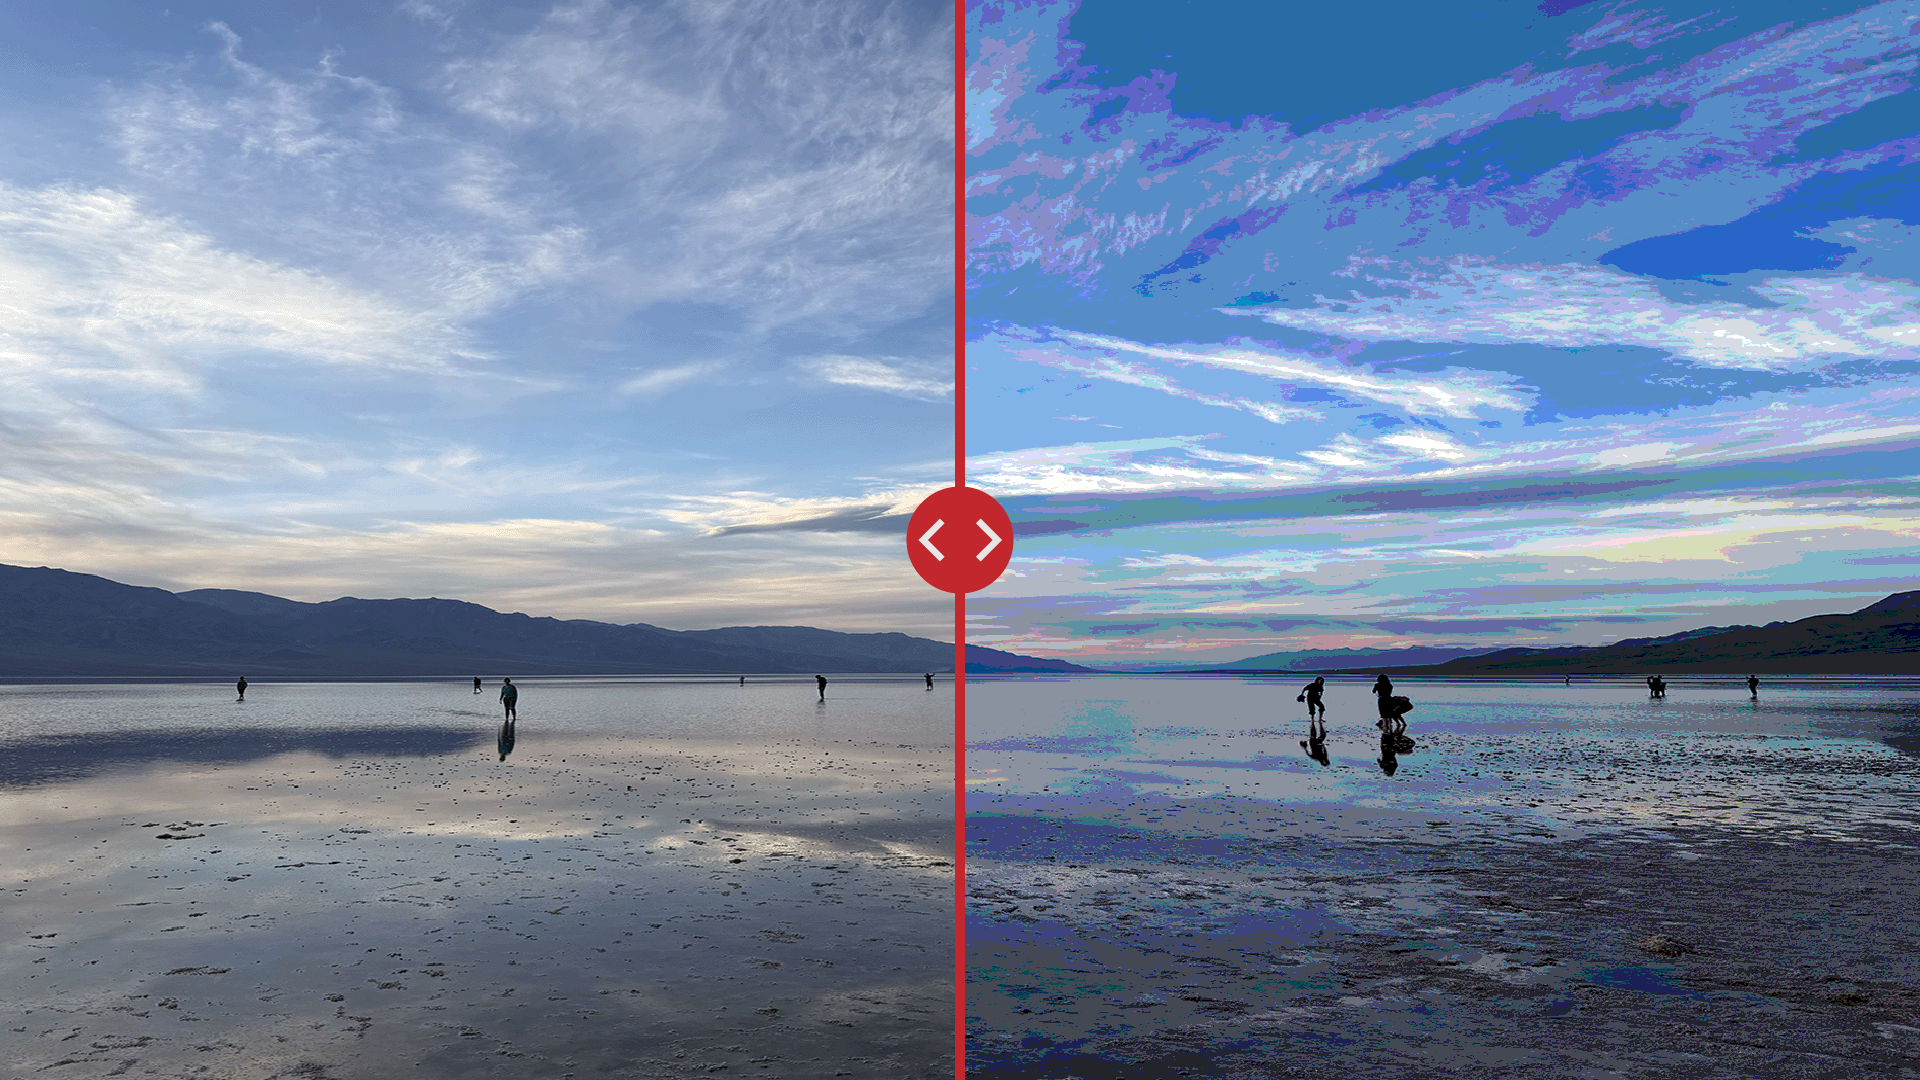
Interactive side-by-side picture comparisons help visually compare how something has changed over time. These are commonly used to show how the environment has changed, developments in metro systems, and results of photo editing.
Knight Lab’s Juxtapose JS makes creating an interactive or GIF picture comparison easy.
Prepare Your Images
To ensure your picture comparison looks smooth, you need to prepare the images so that they’re the same size and key elements are in the same position.
First, check both images to ensure they are the same size as each other. All image editing software will have tools to resize images.
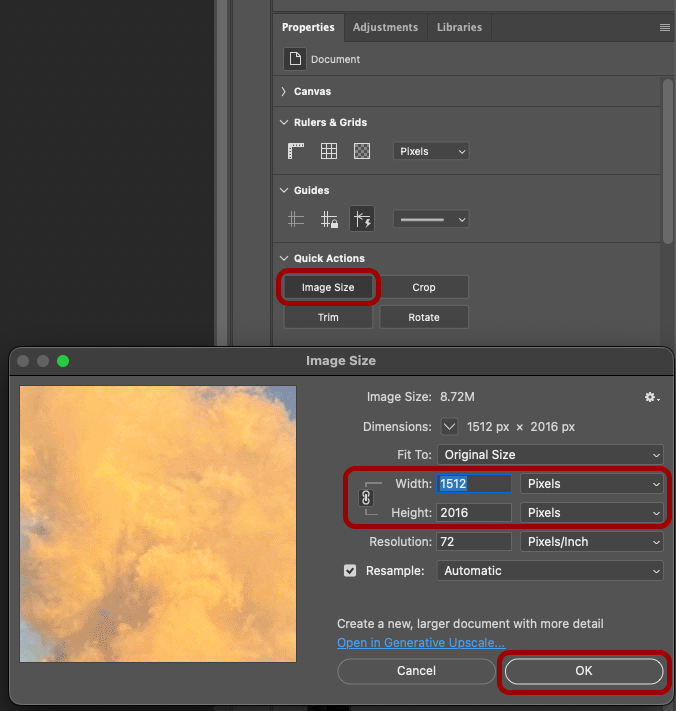
To check and change an image size in Photoshop:
- Open the image in Photoshop.
- Click the Image Size button in the Properties panel.
- Change the values in the Width and Height settings to resize the image.
- If needed, click the paper clip icon to toggle a lock on the image aspect ratio.
- Click OK.
Repeat the steps above for the second image.
Additionally, if there are key elements in your images, it’s best to ensure they’re in the same location in each image.
Create the Picture Comparison
Once you’ve prepared your images, you can create the picture comparison.
Create an Interactive Picture Comparison
Interactive picture comparisons work best on websites where users can slide between the images to see the differences. For an interactive comparison, your images must be located online via Dropbox or another website.
To create an interactive picture comparison:
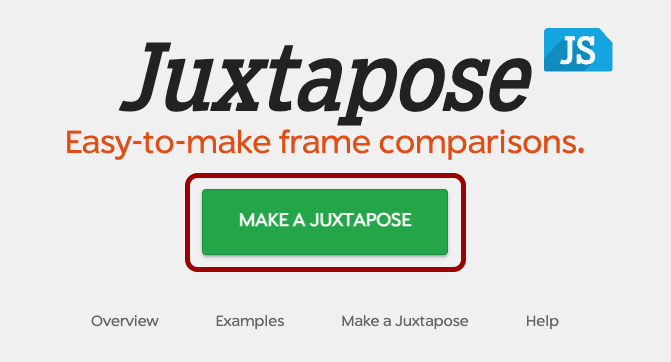
- Go to Knight Lab’s Juxtapose JS webpage.
- Click Make a Juxtapose.
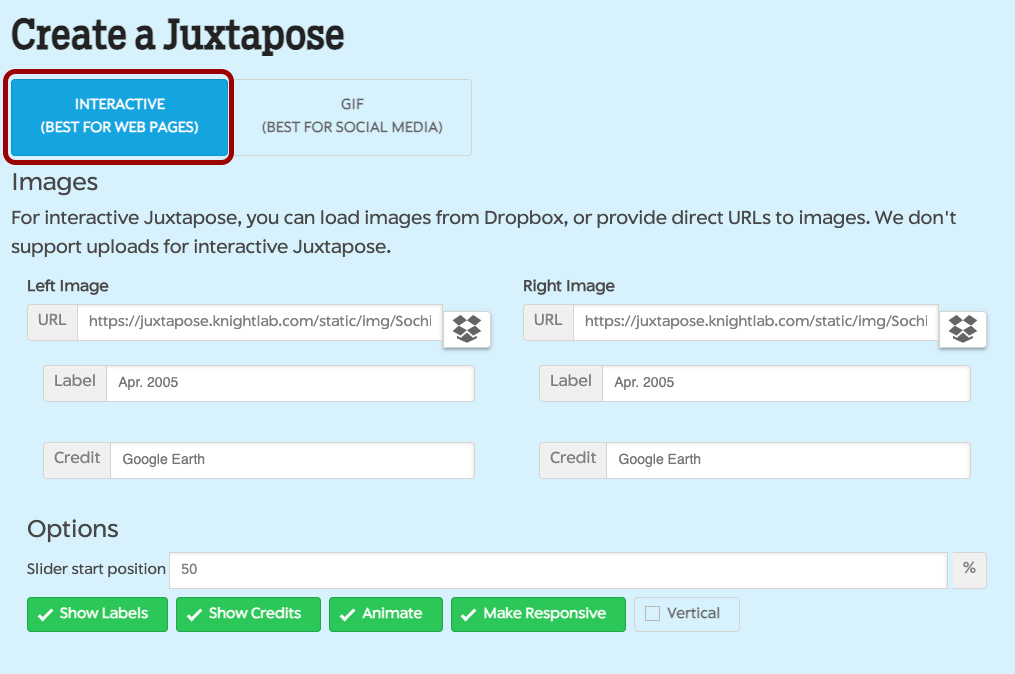
- Confirm the Create a Juxtapose toggle is set to Interactive.
- Copy and paste the URL of the first (“before”) image in the URL field of the Left Image section. Alternatively, click the Dropbox icon to log in to your Dropbox account and select the image.
- Add text in the Label field to add a description on top of the image.
- Add text in the Credit field to attribute credit to the image author in a caption.
Repeat steps 4-6 above in the Right Image section for the second (“after”) image.
By default, the slider appears in the exact middle of the picture comparison. If you’d like to change the default position, change the number in the Slider start position.
Optionally, you can change settings using the following checkboxes:
- Show Labels: toggle whether text in the Label field displays
- Show Credits: toggle whether text in the Credit field displays
- Animate: toggle whether the slider animates to position clicked on either side of slider
- Make Responsive: toggle whether the comparison adapts to different screen sizes
- Vertical: toggle whether the slider moves horizontally or vertically
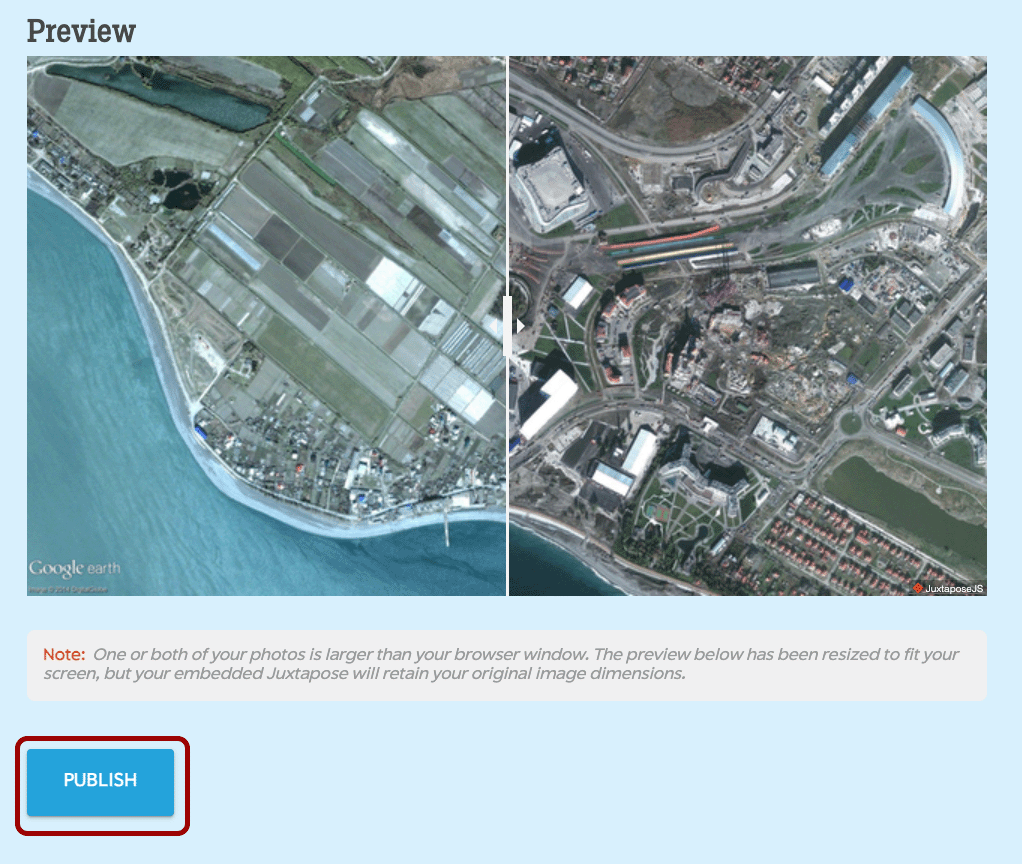
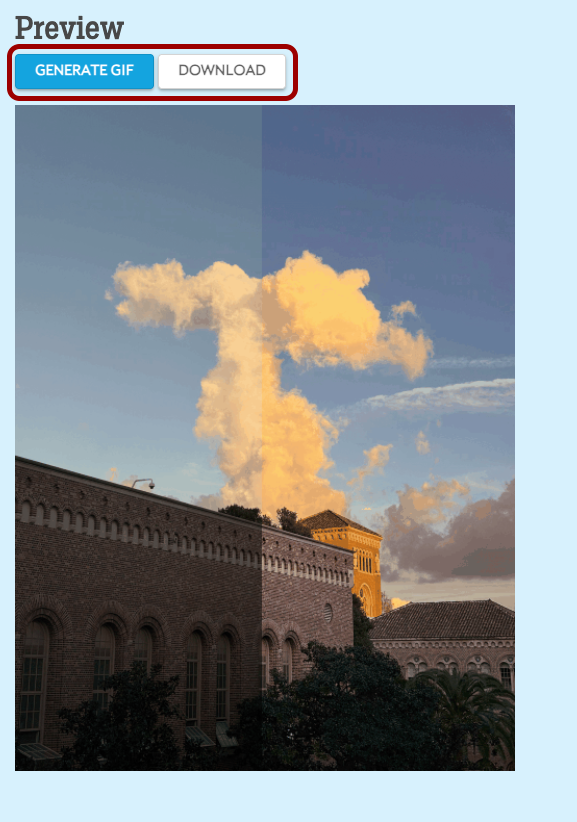
As you change the settings, you can view the result in the Preview section.
Create an Animated Picture Comparison
Animated picture comparisons work best on social media posts where users can watch an animated version show the differences between the images.
To create an animated picture comparison:
- Go to Knight Lab’s Juxtapose JS webpage.
- Click Make a Juxtapose.
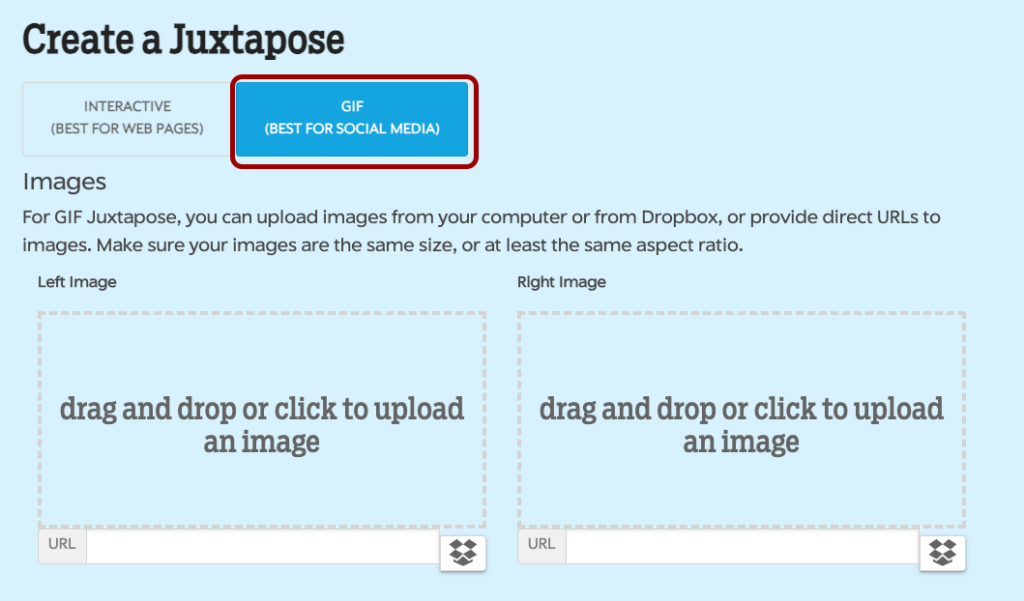
- Confirm the Create a Juxtapose toggle is set to GIF.
- Click on the drag and drop or click to upload an image box of the Left Image section to select an image from your computer. You can also drag and drop an image from your computer onto this area. You can also copy and paste the URL of the first (“before”) image in the URL field, if your image is online. Alternatively, click the Dropbox icon to log in to your Dropbox account and select the image.
Repeat step 4 in the Right Image section for the second (“after”) image.
Publish Your Comparison
Once you’ve got your picture comparison to your liking, you can embed the interactive version into a website or download the animated version to upload to social media.
To embed an interactive version in a website:
- Click the Publish button underneath the preview.
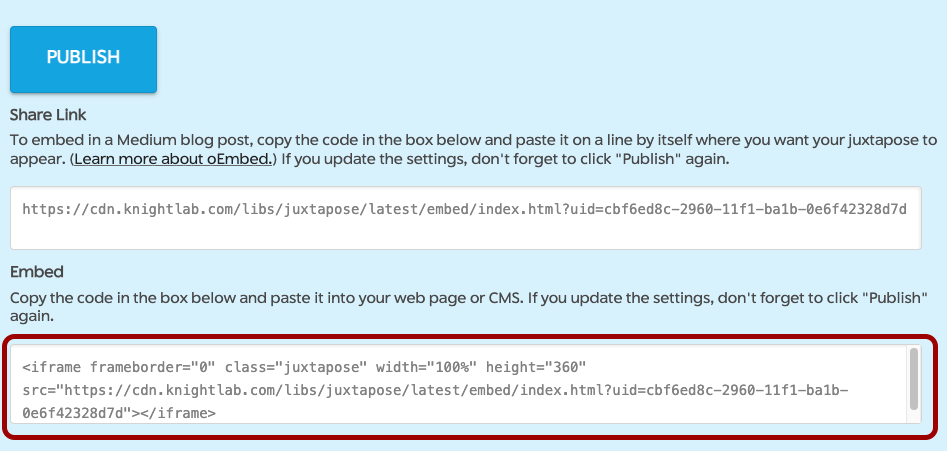
- Copy the code in the Embed section that appears.
WordPress Website
To embed your picture comparison in a WordPress website:
- Open the post or page in the WordPress editor.
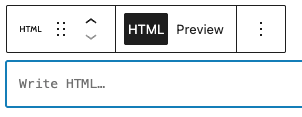
- Add the Custom HTML block.
- Paste the copied embed code in the Write HTML… text entry field.

Coded Website
To embed your comparison in a coded website, paste the copied embed code in the HTML file of the page on which you want the comparison to appear:
<body>
    <!-- paste embed code here -->
</body>
If you created an animated picture comparison, click Generate GIF in the Preview section to see the result. Click the Download button to download the finished GIF. You can then upload this file to your website or on a social media post.
Want to create more interactive elements for your website? Check out our Create an Interactive Web Timeline with TimelineJS tutorial!