
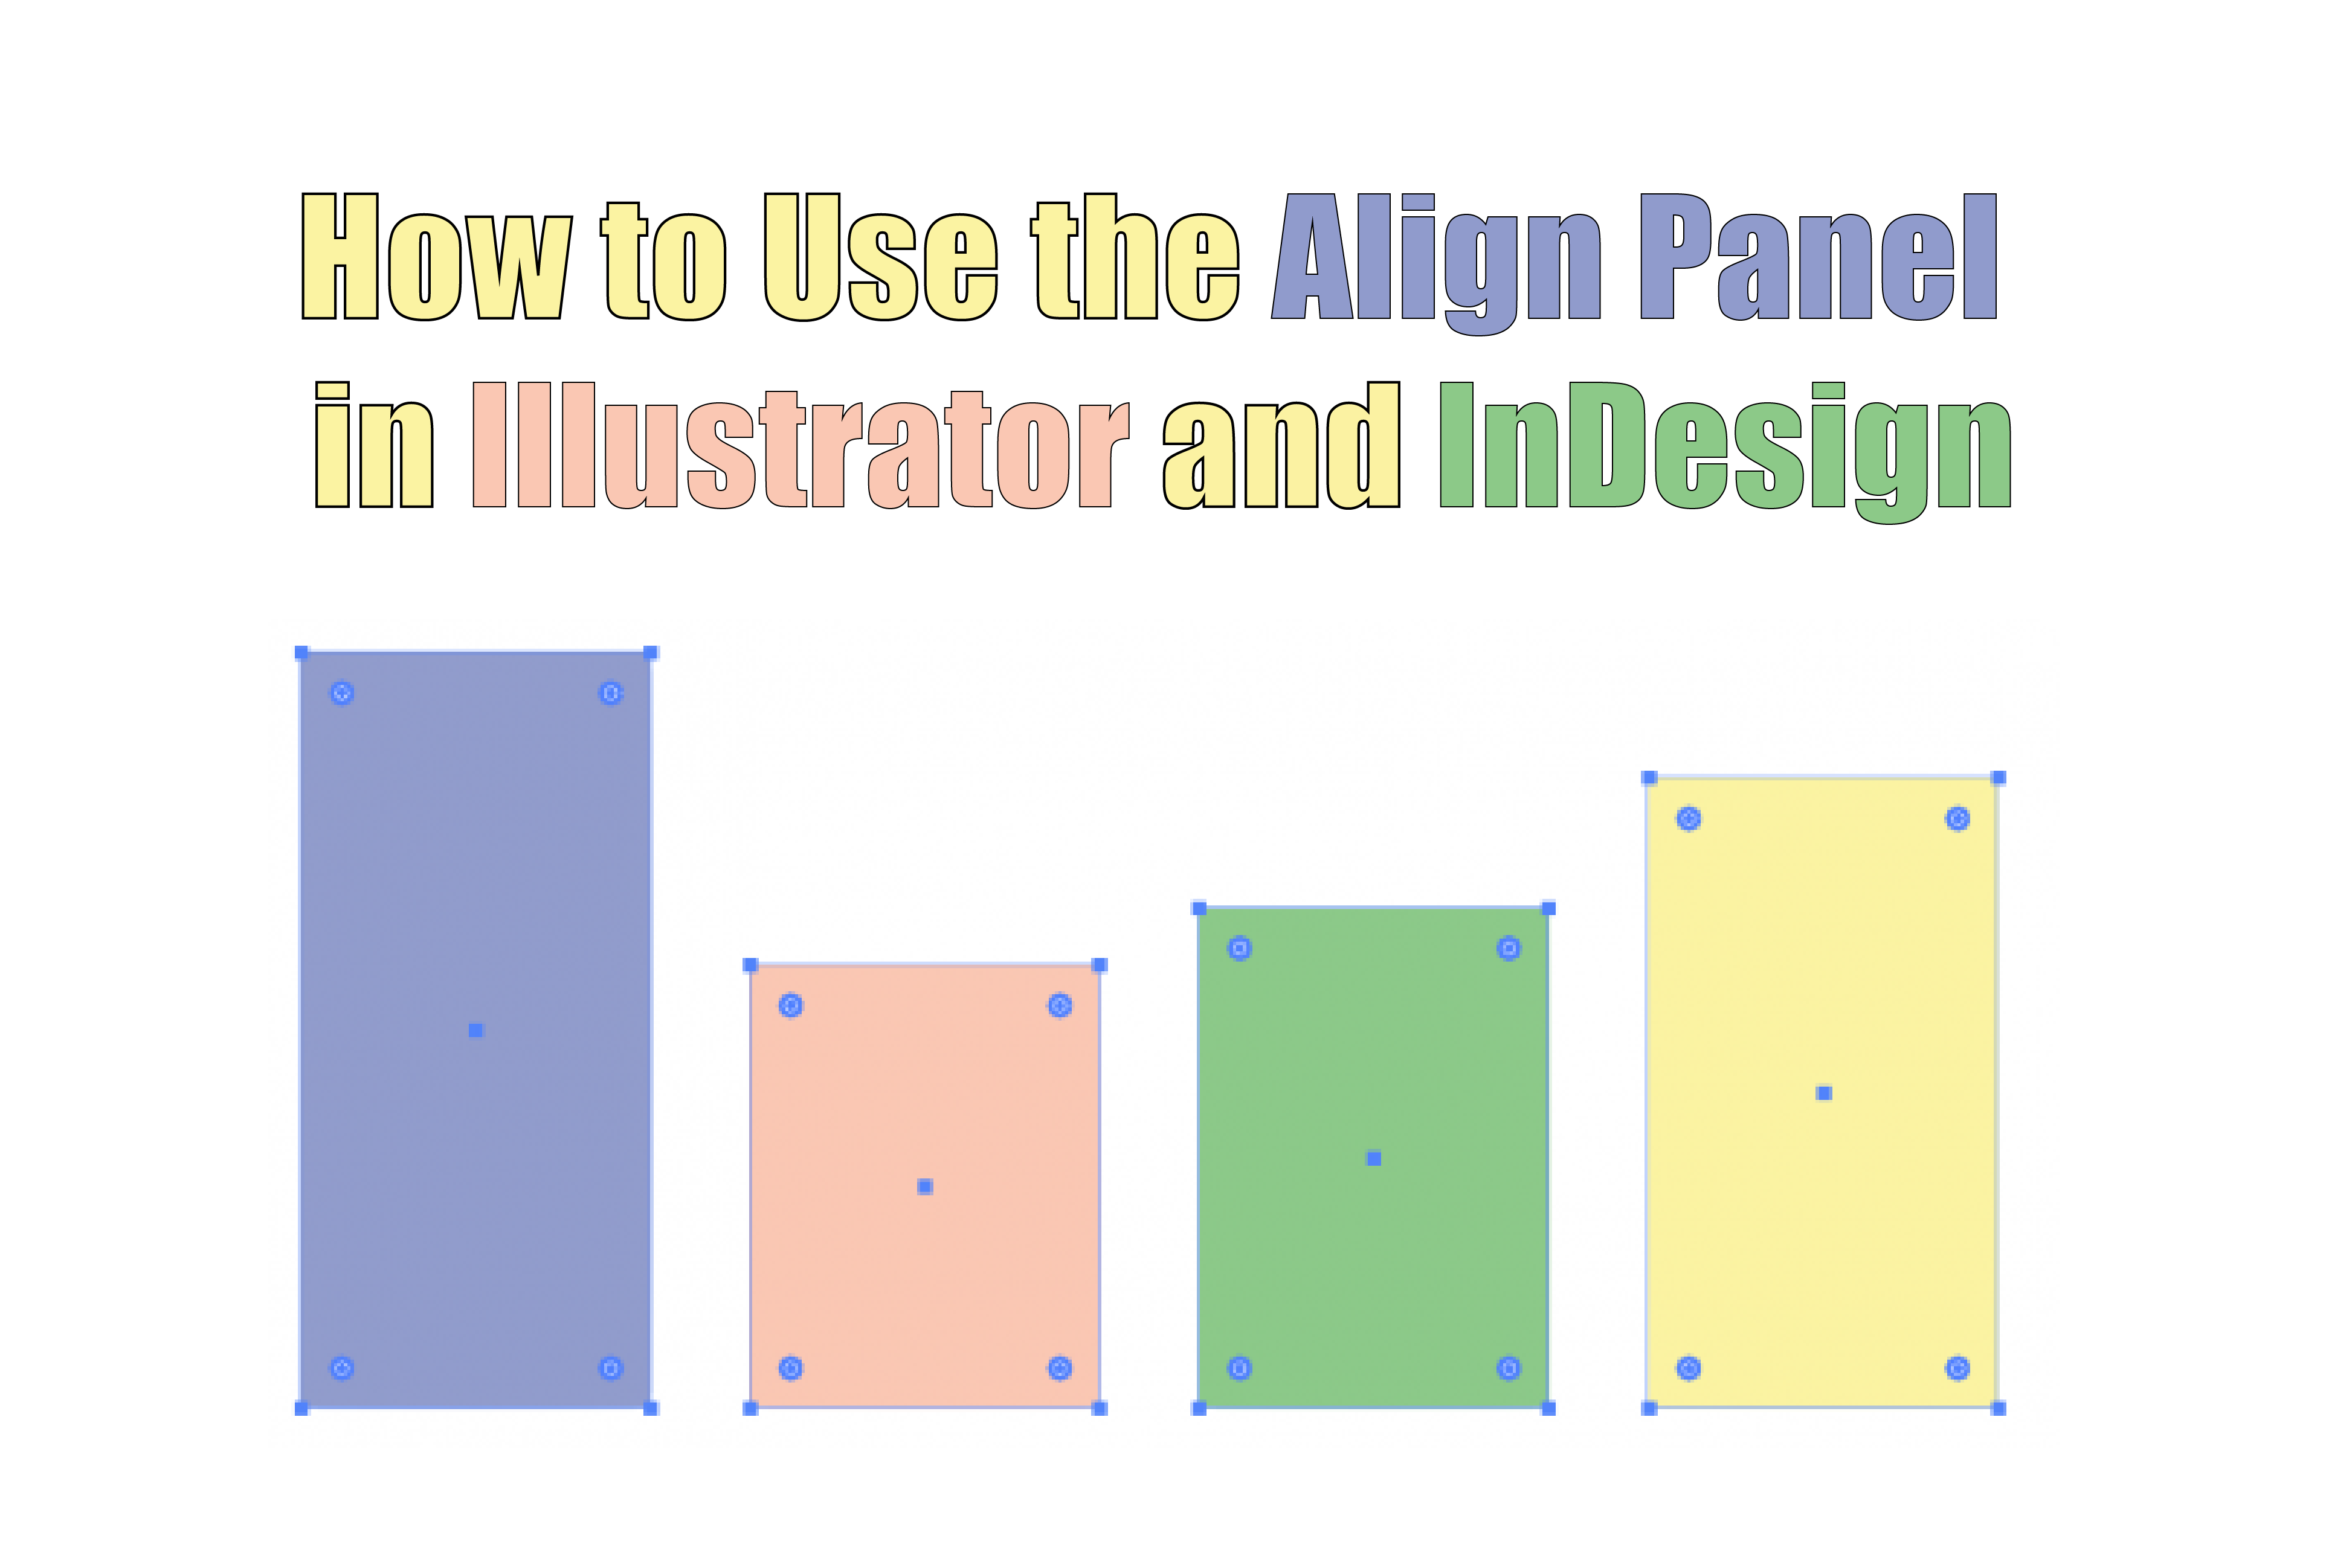
How to Use the Align Panel in Illustrator and InDesign
In this tutorial, we’ll go over how to use the Align panel in Illustrator and InDesign!
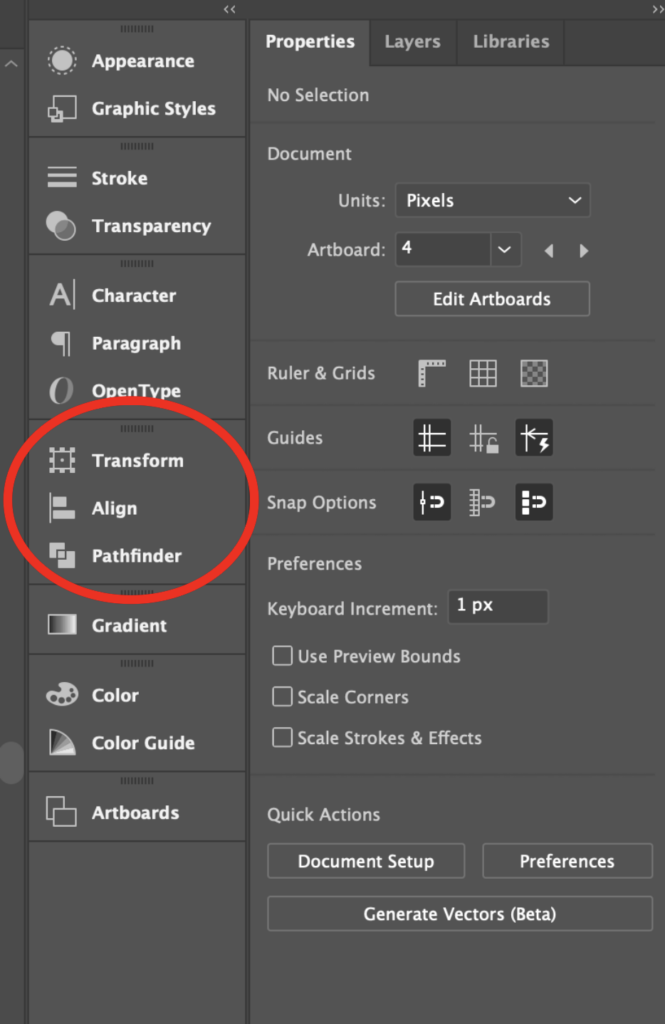
Understand the Align Panel
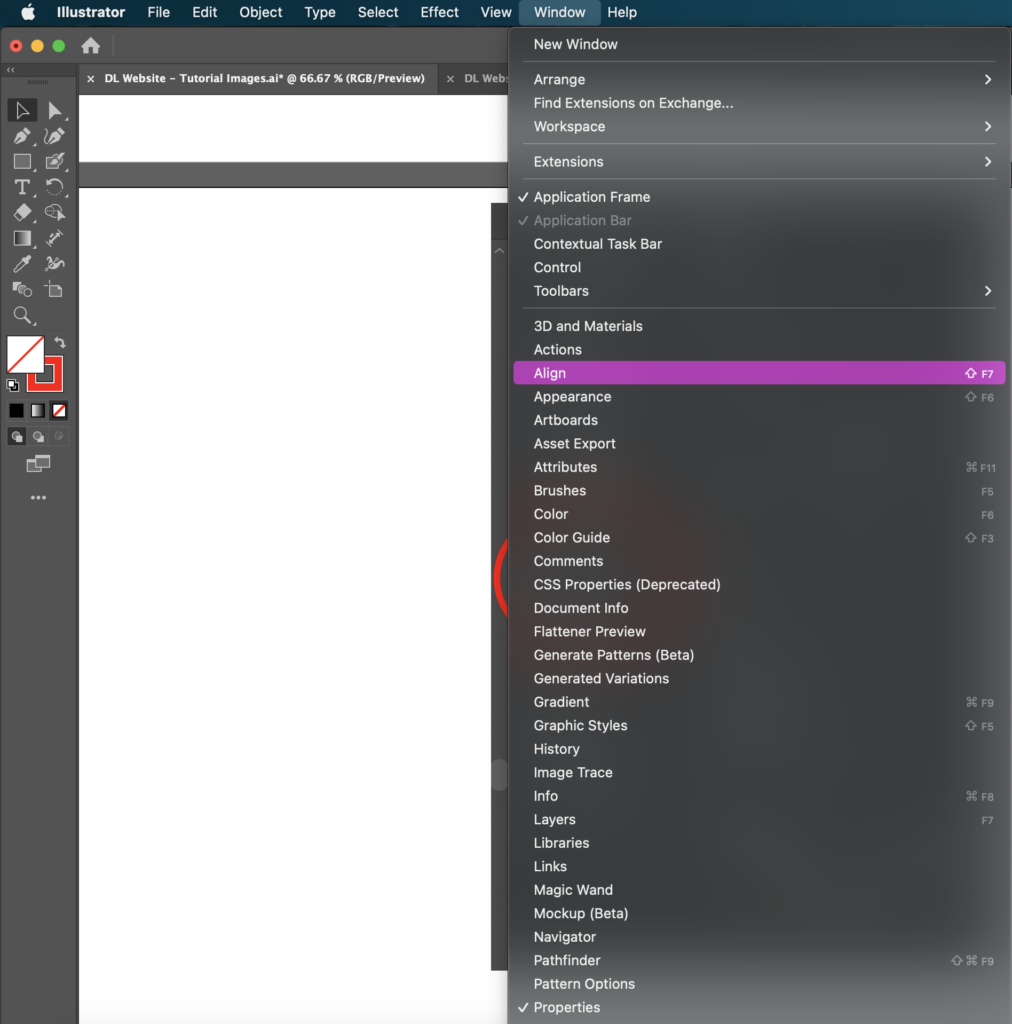
In Illustrator, access the align panel by clicking Window > Align (Shift + F7).
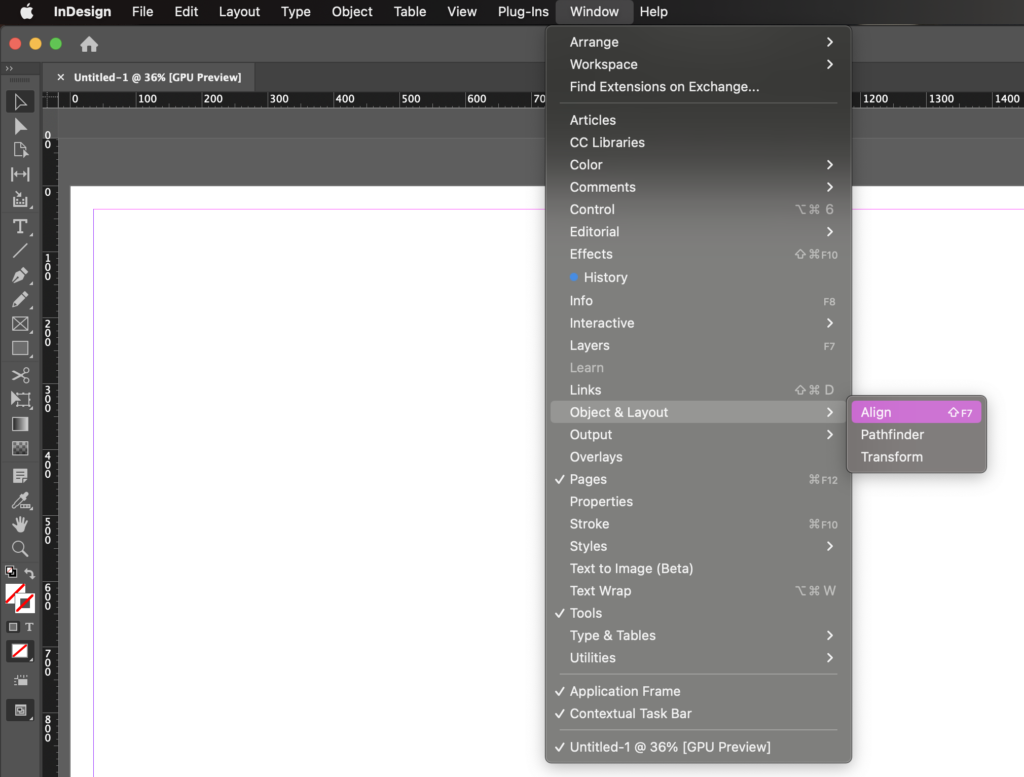
In InDesign, access the align panel by clicking Window > Object & Layout > Align (Shift + F7).
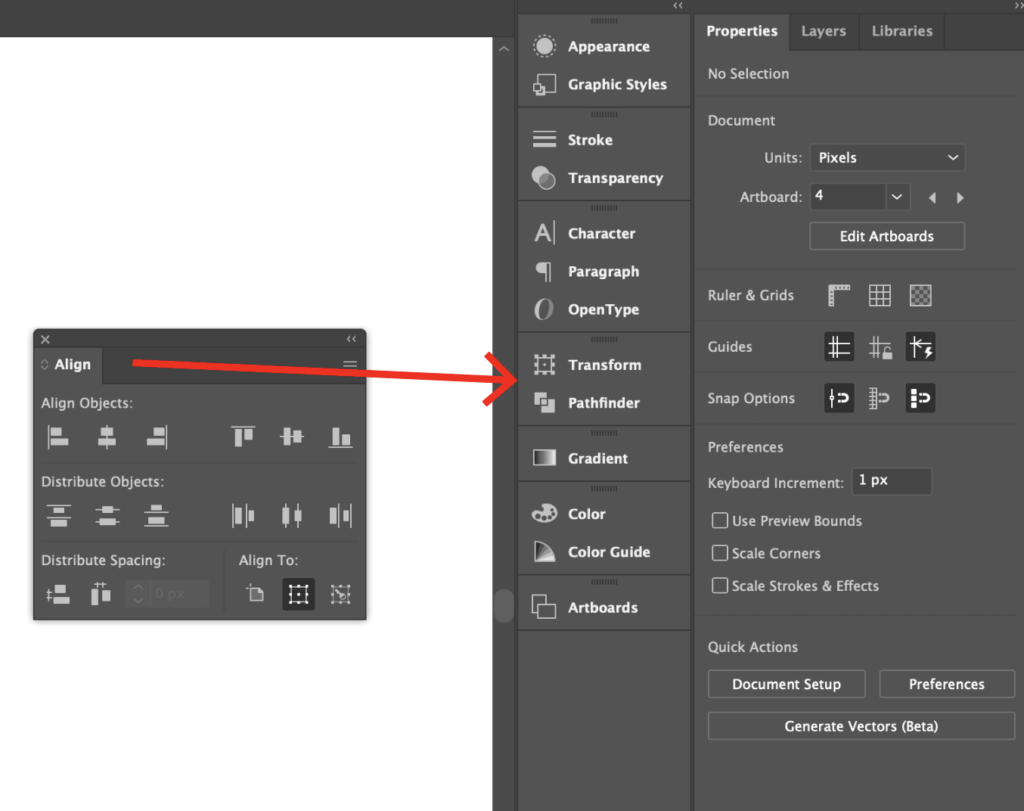
Tip: Drag the align panel to your windows panel to give you easy access to the alignment panel. Simply click on the Align Icon when you need to access the alignment panel.
The top row has alignment options while the bottom row has distribution options. What’s the difference?
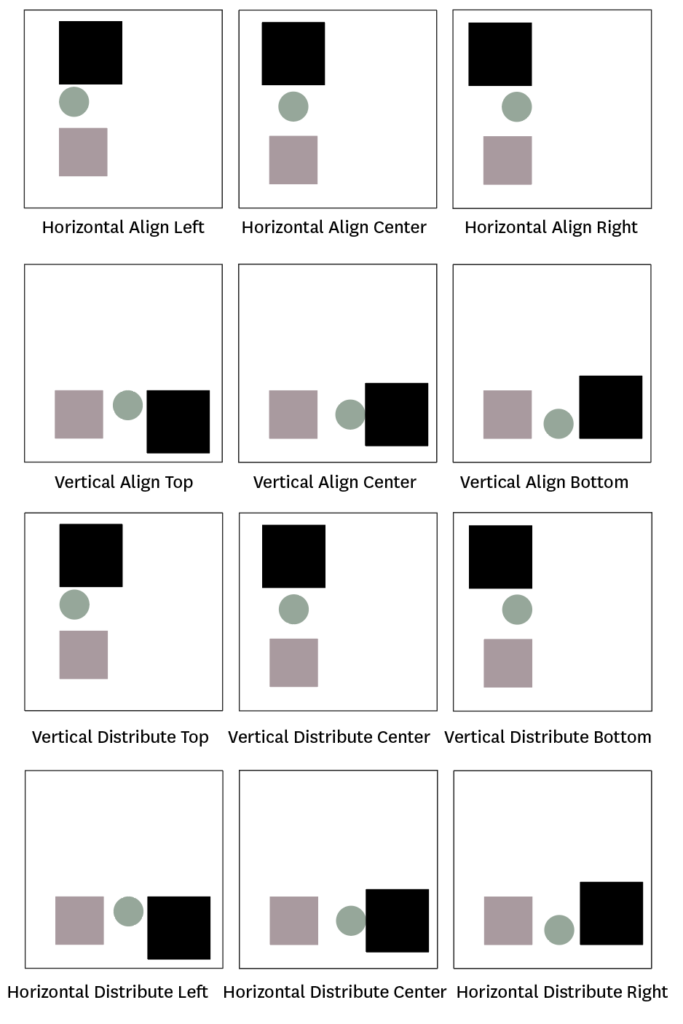
- Align Objects – align every object you select to the furthest left, right, bottom, top, or center most point of the objects.
- Distribute Objects – equally distribute the objects you select from the left, right, bottom, top, or center.
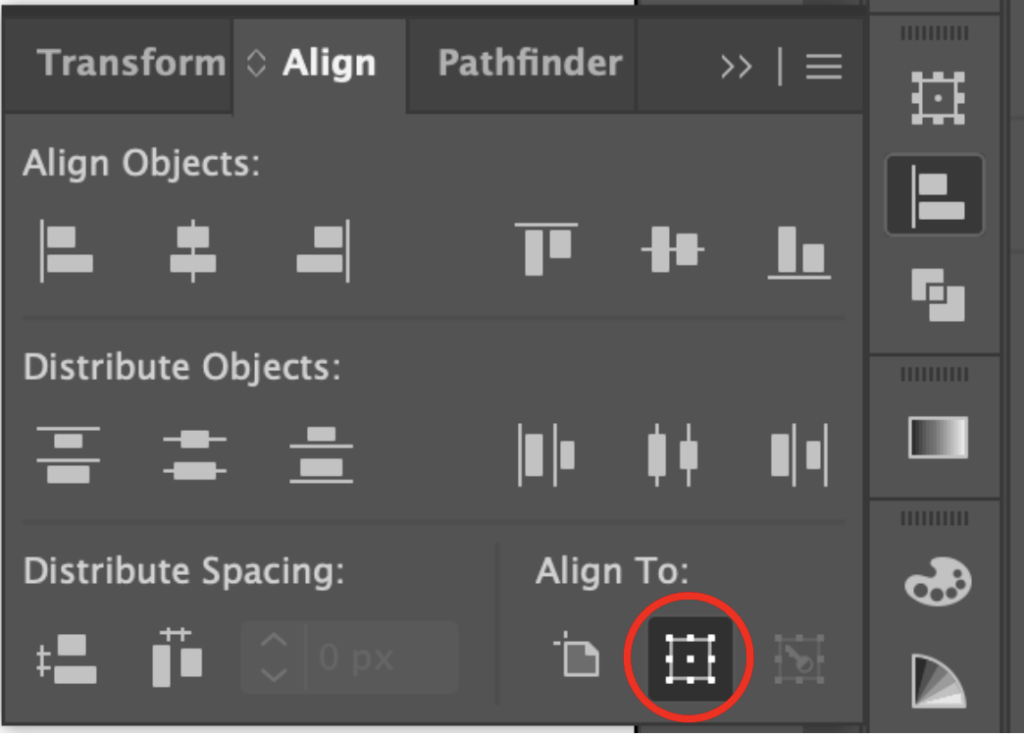
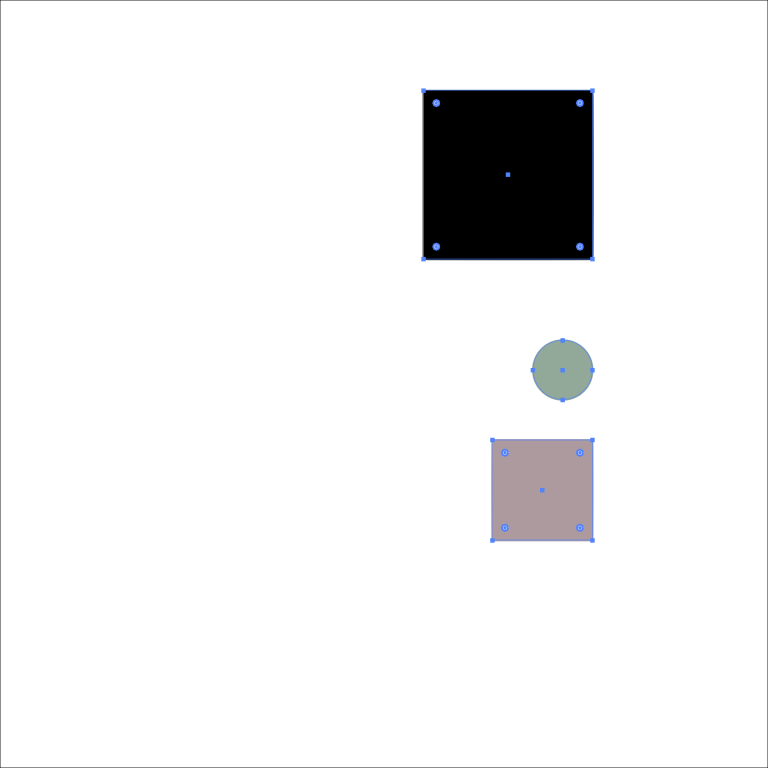
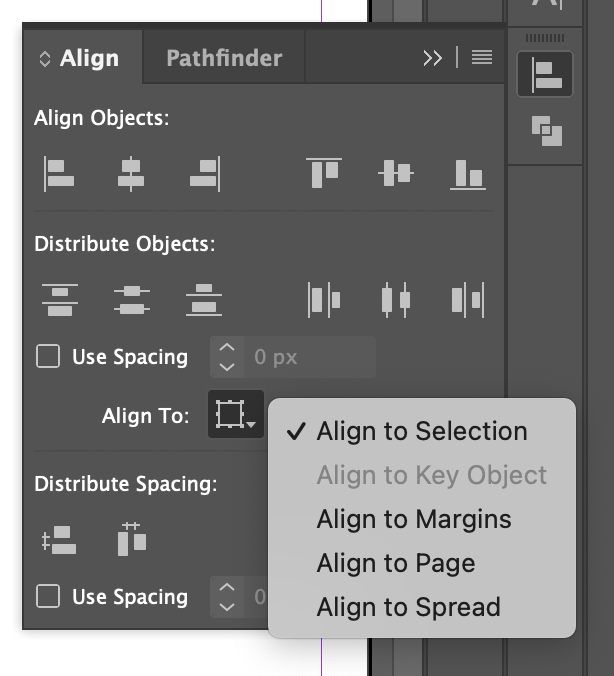
Before we go into every alignment and distribution option, there should be a menu on the bottom right corner that says Align To:. Make sure you’re on Align to Selection. That means everything object you select will all align relative to each other.
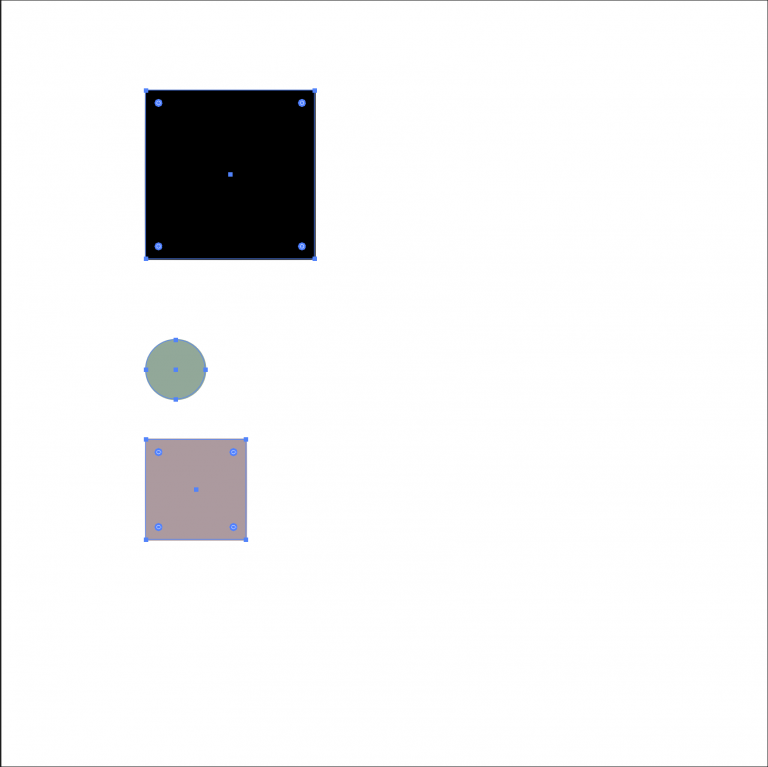
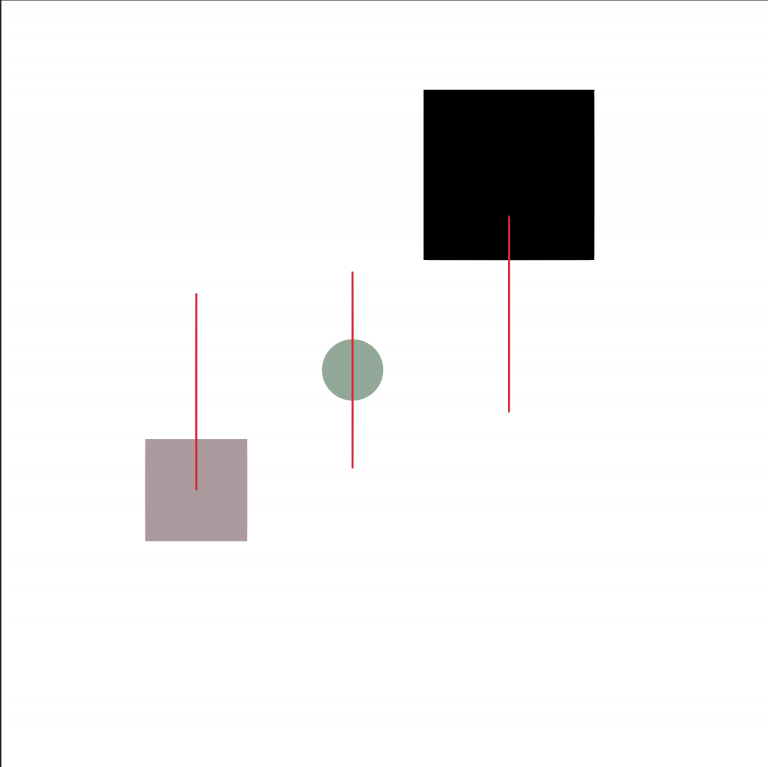
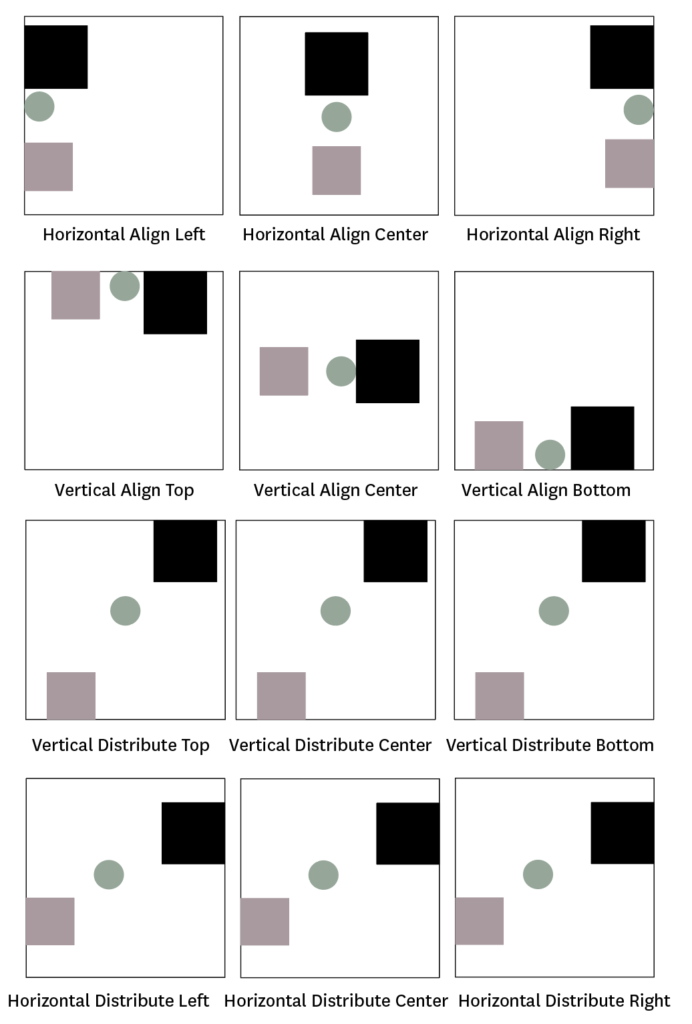
Align to Selection
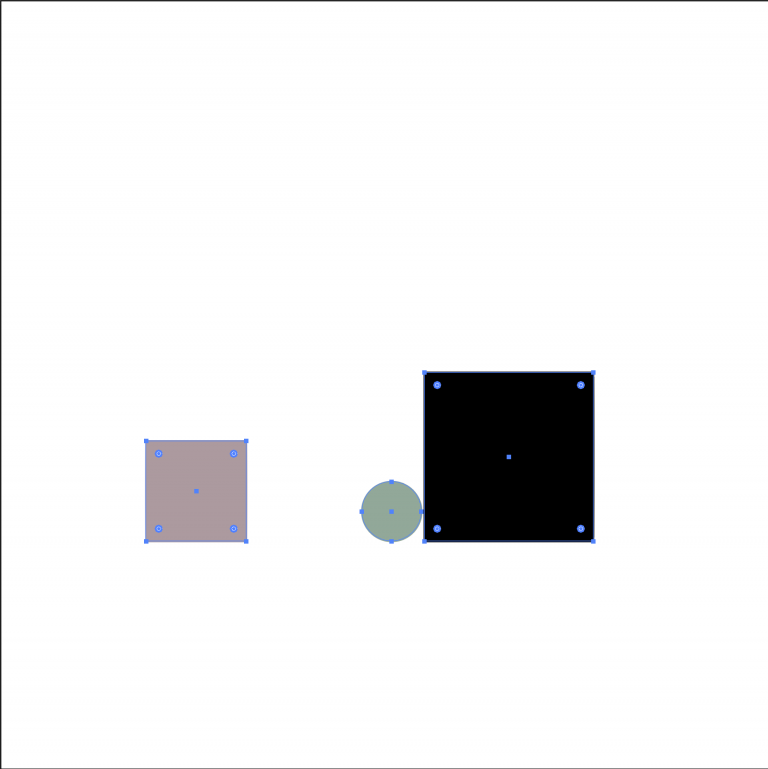
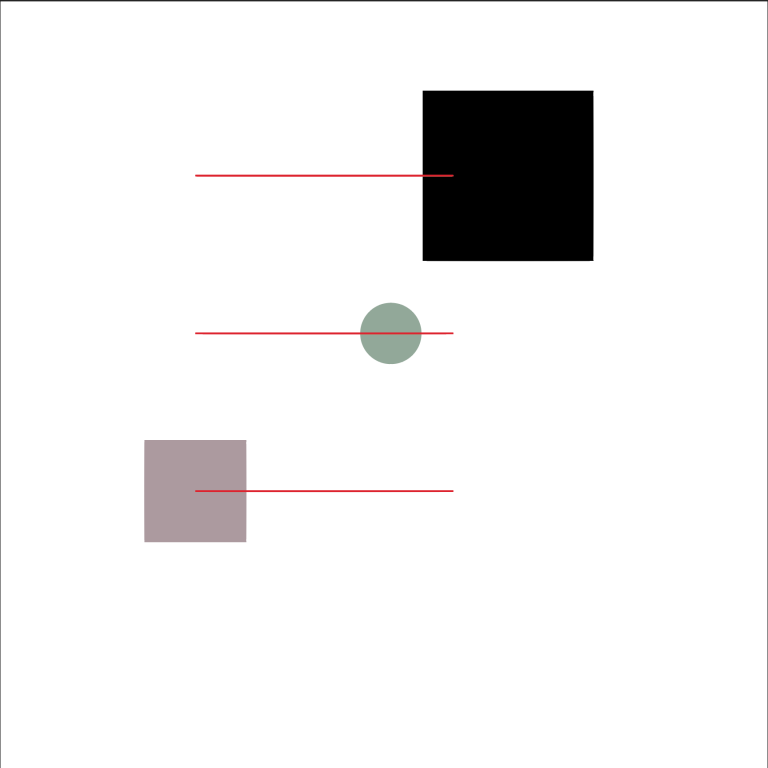
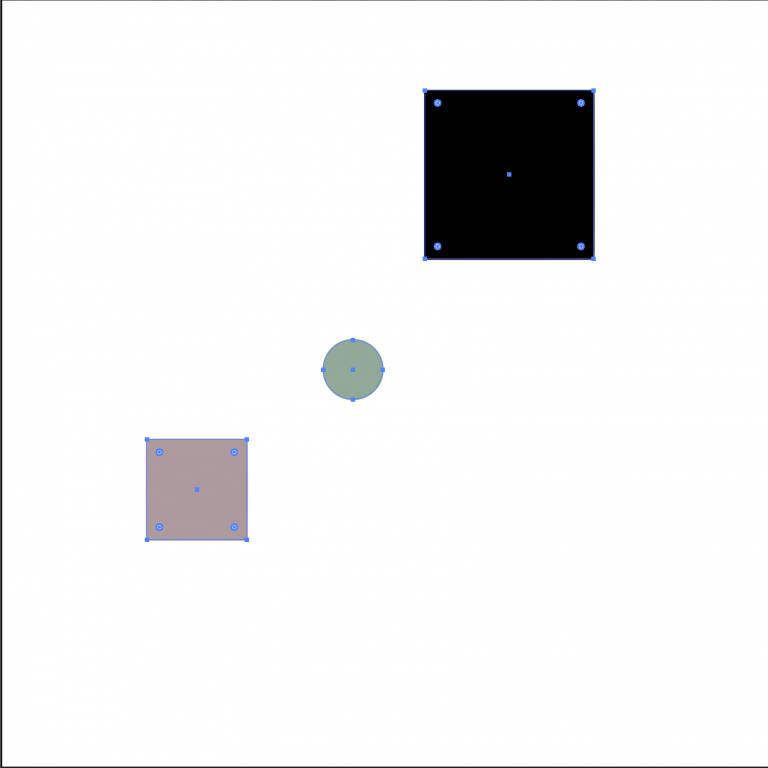
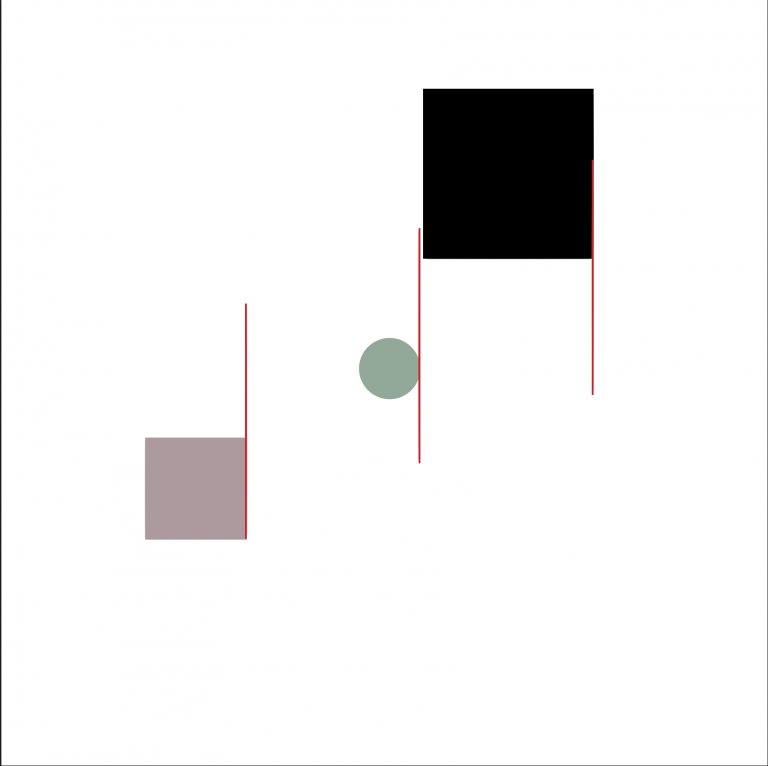
Here we have two squares and a circle placed randomly on the artboard. When we select them all and click Horizontal Align Left, they all align to the left most part of the selection, which is the pinkish square’s left side.

Click Horizontal Align Center to move the objects either left or right to align everything to the center of the selection.

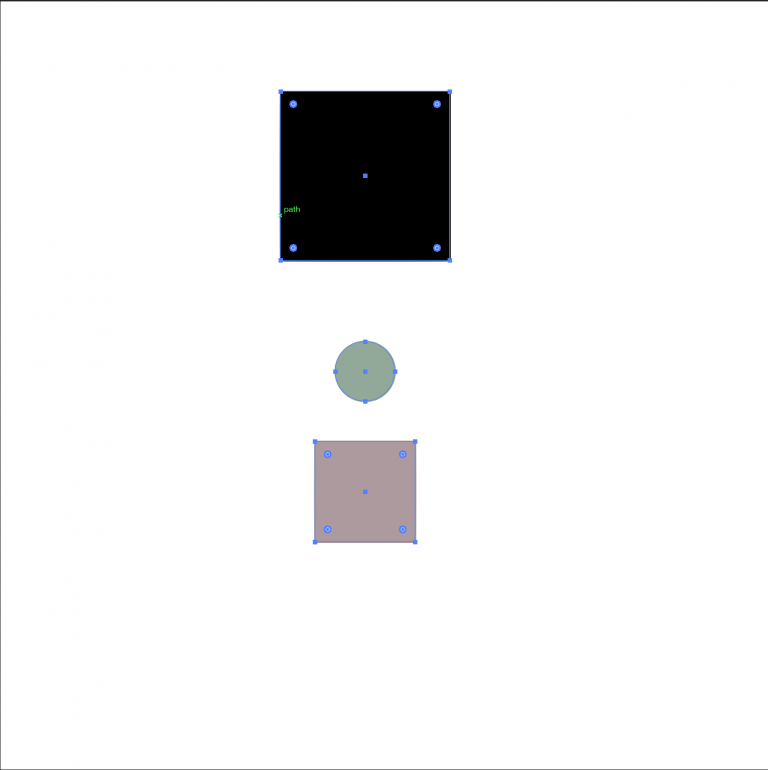
Click Horizontal Align Right to align everything to the right most part of the selection, which is to the right side of the black square.

Vertical Align Top aligns everything to the top most part of the selection, which is the top of the black square.


Vertical Align Center moves the objects either up or down to align everything to the center of the selection.


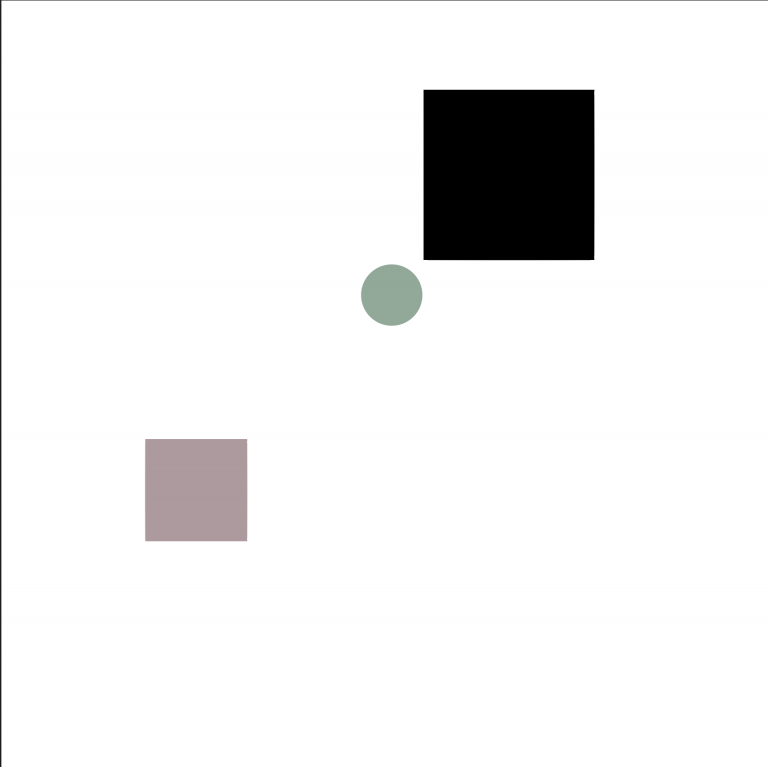
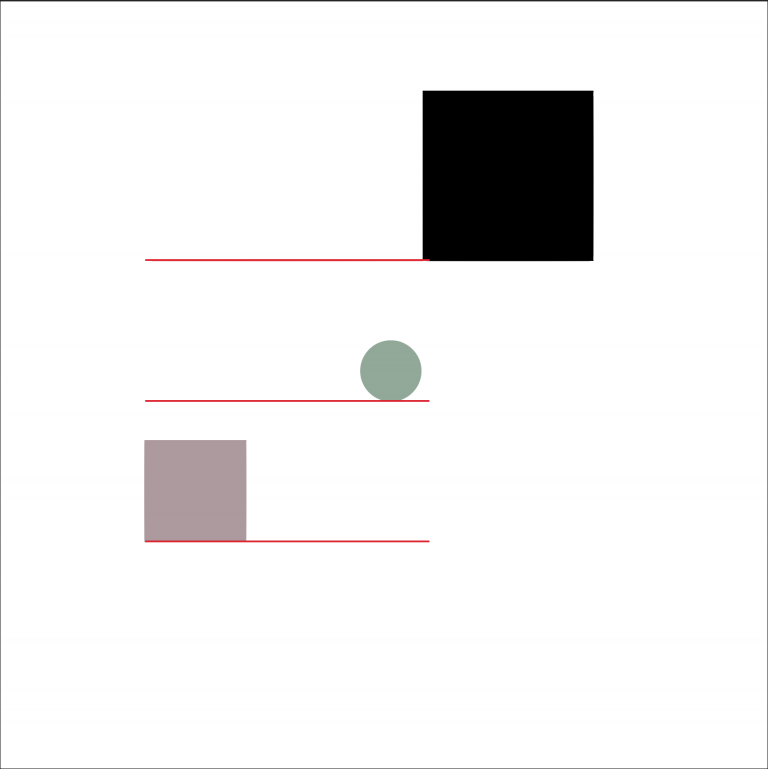
Vertical Align Bottom aligns everything to the bottom most part of the selection, which is the bottom of the pinkish square.

Distribution
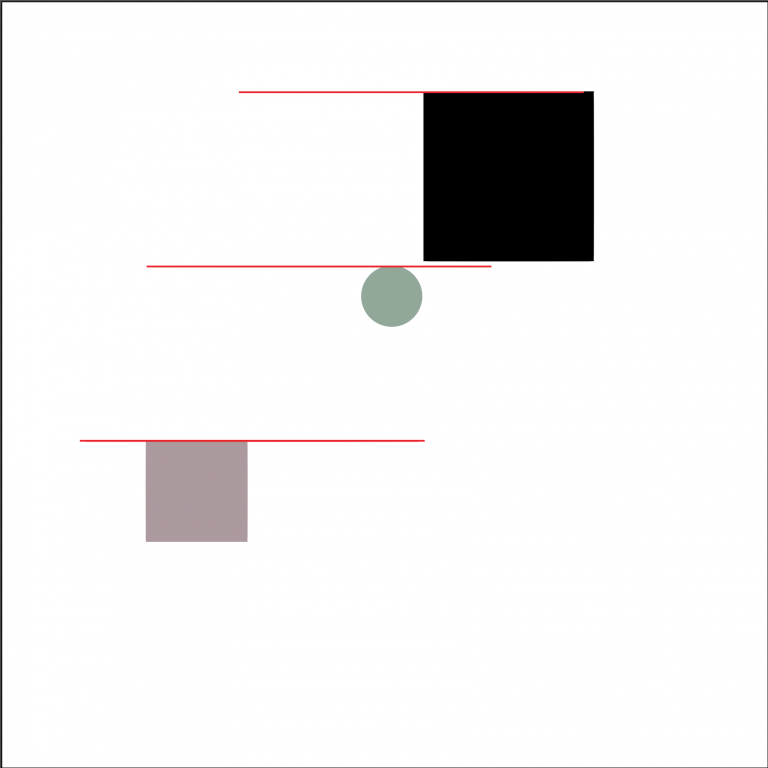
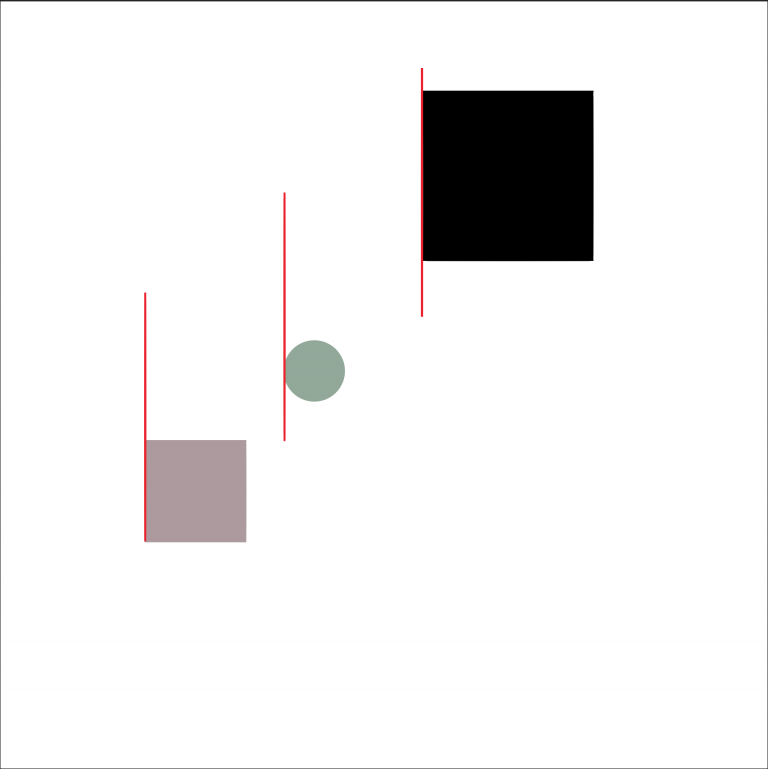
Vertical Distribute Top distributes the tops of the objects equally. There are red lines on the top of each object to show that the tops of all the objects are equidistant.

Vertical Distribute Center moves the objects up or down to distribute the centers of the objects equally.


Vertical Distribute Bottom distributes the bottoms of the objects equally. The objects are already vertically distributed so they haven’t moved.

Horizontal Distribute Left distributes the left most side of the objects equally.


Horizontal Distribute Center moves the objects either left or right to distribute the centers of the objects equally.

Horizontal Distribute Right distributes the right most side of the objects equally.


Align to Key Object
Now that we’ve gone through every alignment and distribution option, we can go through the Align To: menu. Change Align to Selection to Align to Key Object. With this chosen, instead of everything being relative to each other, your objects will now be relative to a key object. The key object is the one that’s the highest in your layers – in this case, the pink square.
Here are all the alignment and distribution options applied to the pink square:

When you align objects with the Key Object selection, the corresponding alignment and distribution options achieve the same effect.
Align to Artboard
Finally, we’ll align and distribute to the artboard. This means that the objects align themselves relative to the artboard. Objects align to the left, right, top, bottom, and center of the artboard.

The Align To: menu in InDesign is roughly the same. However, in InDesign the Align To: menu includes margin (the area inside the pink/purple lines on the page), page (equivalent to the Illustrator artboard), and spread (the left and right page put together).
Want to use the Align panel in Illustrator more? Check out Designing Impactful Infographics with Adobe Illustrator to use your new skills to create your own infographic!